


Thanks go to OXO for the lovely OXO Shake & Flavour Summer Starter Kit, packed full of summer seasonings for cooking great meals.

I took inspiration from one of the included OXO recipe cards and modified it to suit how my family prefers to eat. We’re not big on chilli here, so for the OXO Chilli, Garlic and Thyme Steaks, I changed some of the ingredients.
When the weather starts warming up, it’s hard to make big and heavy stews and casseroles, but simply cooking meat on its own can leave food boring very quickly. I often use spices, herbs and sauces when I’m cooking as it makes the meat more interesting and much more tasty for our family meals.
I wanted our lovely summer food to be quick, easy and fast to do and a marinade seems to be one of the easiest ways to achieve that. Who doesn’t want good tasty food that is finished quickly and tastes amazing with a massive flavour transformation.
I wouldn’t have thought of using the Shake and Flavours in a marinade, so the recipe cards have been very welcome indeed. OXO also gave us some lovely cards with a tin to keep new recipes, and that is one thing that I am really lacking. If I don’t put recipes online very quickly, I tend to forget what I’ve put in them and they’re lost. I always think I’ll remember what I put in them, but I never do.
Sadly, we seem to have lost the summer connection and the day I made my marinaded dish, the sky clouded over and we had rolling mist, so the pictures I’d imagined outside didn’t happen.
I found the Shake and Flavour seasoning really easy to use, and I can see me sprinkling some over all kinds of dishes, even when just grilling bacon, to add a neat twist to the flavour.
For my recipe, we had some lovely rib eye steaks from my local butcher that I was planning cooking for Sunday dinner and as the steak recipe mentioned rib eye steaks, it was the perfect way to try out the Rich Beef Shake and Flavour. I like the fact that we can use Shake and Flavour before or after cooking. I’d just have looked at the pots and assumed they were just for cooking.

There are seven different varieties of OXO Shake & Flavour, and they’re all MSG free.
- Garlic & Herb
- Rich Beef
- Roast Chicken
- Southern Fried Chicken
- Chinese Tikka
- Italian (Asda Only)

We have some lovely chicken burgers from my favourite butcher in the fridge, and those will be treated to a mix of Southern Fried Chicken with some Garlic & Herb tomorrow 🙂
Ingredients
Method
- Mix all the ingredients, apart from the salad to serve and the steaks into a bowl big enough to hold everything when it's being cooked. I prefer to use a glass or steel dish rather than plastic. Mix the ingredients until smooth.
- Add the steaks and make sure the marinade covers them completely.
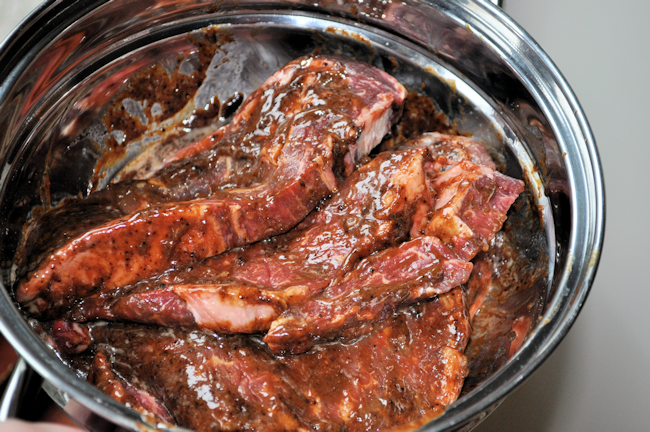
- Pop the steaks into the fridge for at least an hour, or overnight which would be even better.
- Take them out of the fridge at least 20 minutes before cooking them. They can be grilled or barbecued. Spoon over any of the marinade that is left in the bowl before you cook them.
- Cook on the grill for approximately 3 or 4 minutes on each side, or until your steak reaches the consistency that you prefer. I like my steak well done, so it's a longer cooking time in the Scottish Mum Household. For this version, I oven cooked mine for fifteen minutes each side on a moderate heat and it was perfect for us. You know your own meat tastes and can adjust that to suit.

- Let the meat rest before serving and enjoy.
This post is part of a BritMums project with OXO Shake & Flavour. Shake & Flavour seasoning granules can be sprinkled into food during cooking or before serving. Find out more about the Shake & Flavour varieties.
If you’re a Twitter fan, heading over to the #OXOMealtimeMagic will give you some good ideas for cooking from @OXOFamily and the OXO Shake & Flavour bloggers.


Delicious! I have made this recipe many, many times. Always perfect.
Yep it works perfectly. Get a good crumbly stilton though.
My old machine said hot or cold water. No way cold water cooks the veggies in my old machine. Actually…