Posted on 11 Comments

Frozen Veg Versus Fresh Veg – Would you use frozen fruit and vegetables?

If you believe the Daily Mail, the consensus is that frozen food is better than fresh food – and that includes frozen vegetables and fruit.

Using frozen ingredients in recipes isn’t always popular though, and I do often wonder how many of us actually use them.

Von Chef Frozen Strawberries

Coming from a family who always ate from fresh, I found the transition to using frozen food a bit difficult.  It had always been drummed into my head that fresh was the way to go, no matter what.  We grow a lot of our own in summer, so it’s always the winter months where we are lacking in much of the fresh stuff.

Apparently a couple of studies have found that frozen fruit and veg could actually be healthier with the higher levels of vitamins preserved in them, especially the antioxidant leafy veg

The antioxidants fared best, which included Vitamin C, polyphenols, anthocyanins, lutein and beta-carotene.

Frozen Vegetables

Personally, I’m not 100% convinced they’re better for us, but I can understand how they would be just as good for us if they were picked and frozen quickly.  I’ve seen the evidence, but I can’t get my head around how they could possibly be an improvement.

There’s always the benefit of not being in transit for days before they get to us, which can’t be bad though, and the frozen version will keep the freshness they seem to have.

I don’t like frozen fruit and veg when it’s thawed from the packet.  That’s just me, so I rarely use them for just serving up the veg on its own, but I do use them for cooking in other food.  The slightly limp results I seem to get on defrosting tends to put them off my list for just adding veg to the plate as a side dish to a main course.

Von Chef Frozen Bananas

I did find great ways to use fruit I froze myself, with the frozen dessert maker that Von Shef sent to me, but that’s not what I’m talking about.  Strangely, the fruit I froze in my freezer did not have the wetter consistency that the shop bought kind seems to have.

I do buy a lot of frozen veg though.  I love it for last-minute soups, for onions and for garlic and ginger.  I’ve been using more and more frozen carrots too, as they just last so long.  As much as I love fresh carrots, there are times when they’re wasted in the veg drawer and end up in the bin, which I find very wasteful.  Unless I’m buying those for specific meal planning, I keep reserves in the freezer for days we fancy carrots or I’m putting a casserole on and fancy throwing some in without having to visit the local shop.

At the end of the day, unlike a lot of home cooks, I’m very pro the use of frozen veg in recipes.  I’ll use fresh where I can, but frozen is not off my radar.

What about you?


Posted on 4 Comments

How to make stock in a Soup Maker

We’re all put off making stock on occasion, by the sheer need to be around as the pot simmers those old bones and bits left over from any roast we’ve had for dinner, but there is another way.

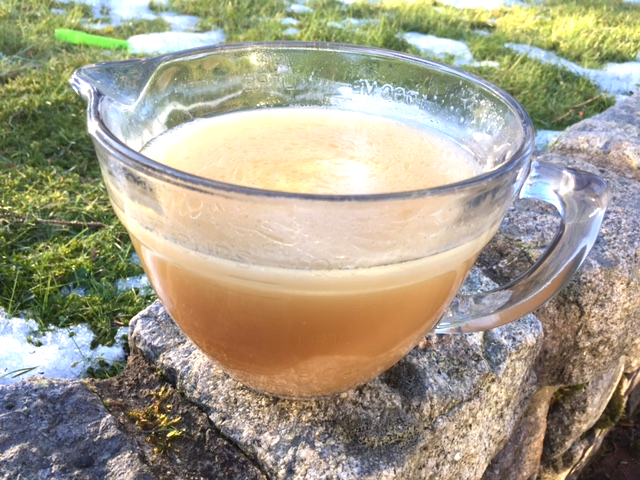
Chicken Stock 2

Determined to use my Soup Maker to its full extent, I tried making stock as a test, to see if it was really possible to do.  Any soups always taste fabulous with fresh stock, so it’s a no brainer for me.  I put the carcass or bones into a pot as soon as it’s cooked, so that I can freeze any leftovers for another day.  I don’t let it cool, as I’ve always lived by the rule of only one reheat after meat is cooked.

It’s fairly simple.  I add nothing as I prefer to add my extra ingredients at the cooking stage, but you could add different options.

Ingredients:  Carcass, Bones or Leftover Meat

Optional:  

– Salt & Pepper

– Stock Pot

– Garlic

– Onions etc

Add any bones, or chopped up pieces of leftover meat to your soup maker.  You do need to ensure there is enough room to put on your lid if you use a kettle version.

Method:

Step 1

Add your ingredients to the soup maker, choose the chunky option and run through the cycle.

Step 2

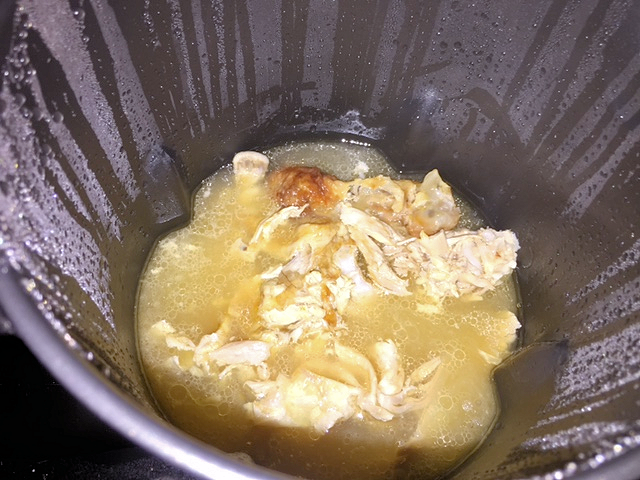
Chicken Stock 1

If you like your stock to be stronger, run it through a second cycle.

Step 3

Sieve your liquid, to separate the bones & meat from the liquid stock, and now it’s ready for use.  You can freeze the stock if it’s freshly made, but if you’ve let the meat or the carcass cool, I’d use it straight away.

IMG_8817


Posted on 21 Comments

Soup Maker Recipe: Vegetable and Lentil Soup

Soup Maker Vegetable and Lentil Soup

Lesley Smith
4 from 1 vote
Prep Time 10 minutes
Cook Time 21 minutes
Total Time 31 minutes
Course Soup
Servings 4 -6

Ingredients
  

  • 500 g Mixed Vegetables I used Potatoes, Carrot and Turnip
  • 50 g Lentils
  • 1 clove Garlic
  • 1 teaspoon Cinnamon Spice
  • 1 Stock Pot
  • 1 pinch Salt
  • 1 pinch Pepper
  • 800 ml Vegetable Stock

Instructions
 

  • As simple as can be. Just throw all your ingredients into the pot.

  • Set your soup maker to the smooth setting. As this soup cools, it will thicken a fair bit. It depends if you'd rather make it and eat it fresh, or wait until it has thickened and then re-heat it.

  • Season with other herbs or spices if you'd like a stronger taste.


Posted on 1 Comment

Soup Maker Club

Soups have begun to take over the blog.  I know a fair few of you visit, just for the soups.  I see many of you subscribing after reading soup posts, but if you’re just after soup recipes, you might not want to read lots of my other posts, articles and sometimes, even my rants over nothing much in particular, but things that bother me at that specific moment.  I’m very happy for you to stay subscribing to all posts here, but if you just want soups, smoothies and shakes, I’ve created a place for those to go.

I plan to keep soups I’ve made and photographed on the Scottish Mum blog, but for those of you who don’t want to read everything else, I’ve started a soup maker recipe specific blog.   All the recipes from here will be added, and there will be lots more recipes, particularly ones I’ve made, but have not got round to photographing.  For those, I might use a stock picture or just no picture at all, but rest assured, every one that makes on on this blog and on the Soup Maker Club and posted by me, will have been cooked up by my trusty Morphy Richards.

The new website won’t just be limited to a soup maker.  The plan is to enjoy soups of all kinds, from a pot, to bubbling in a tin over a camp fire, or even thrown into the microwave.  If you’ve got an unusual way of cooking soup, then I’d love to hear it from you and feature your own recipes over there.

Soupmaker club

All you have to do, is head over to soupmaker.club to find me over there.   Sign up to join the club, and instead of being sent each new recipe as it arrives, I’ll send you a digest of weekly or monthly news, including new recipes on the blog and posts, giving you the choice whether to check them out or not.

If you want to add your own recipes for the soupmaker club, just send them to me, or use the form on the website.  I can’t see my soupmaker being used any less than it is now, well not for the rest of my own life, so I’m hoping to build an impressive backlog of soups for us all to enjoy.

Thanks for listening and for the ongoing support of my readers, as without you, there would be no blog.

Lesley

x

Posted on 3 Comments

Soup Maker Recipe: Cream of Aubergine and Butter Bean Soup

Keeping Aubergine Soup simple isn’t as easy as it looks.  The sponge like texture ensures you need to work fast, or it may discolour more quickly than you expect.  Leave peeling your Aubergines till last (or Egg Plants for those across the water).

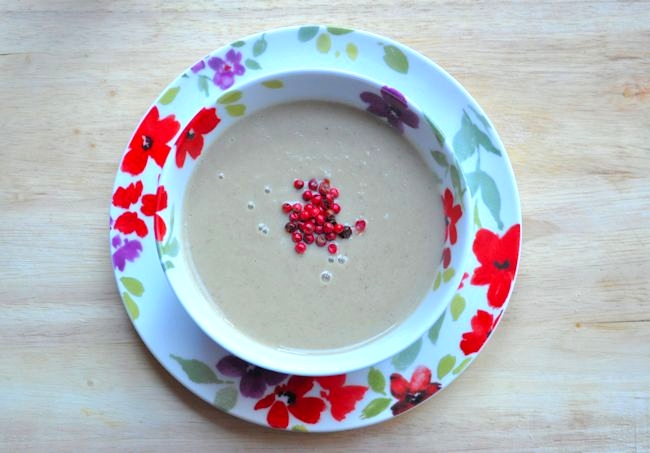
For this version, I wanted to make it without much preparation, so I went for a can of butter beans that was in my cupboard and fast approaching its sell by date.  It’s as good an excuse to make up a soup as any.  Finished with pink peppercorns on the top, this looked lovely on the table.

Soup Maker: Cream of Aubergine and Butter Bean Soup (Egg Plant)

Lesley Smith
Prep Time 10 minutes
Cook Time 21 minutes
Total Time 31 minutes
Course Soup
Servings 4 -6

Ingredients
  

  • 500 g Aubergine Egg Plant (Cut into smallish cubes)
  • 200 g Butter Beans
  • 1 Vegetable Stock Pot
  • 1 Herb Flavour Pot
  • 150 ml Fresh Cream (Single or Double)
  • 700 ml Boiling Water Approximately ((or up to your maximum fill level - it could be less than this due to springiness of the Aubergine))

Instructions
 

  • As simple as it can be. Just add all the ingredients to the pot, choose your setting and put your feet up for around 20 - 30 minutes..
  • Be careful with liquid here. You can only fill your maker to its maximum fill lever, which could be less than the ingredients in my recipe needed. Check your appliance. Aubergine soaks up liquid like a sponge, so you need to be extra careful.
  • For this version, I first selected the chunky option, to ensure there was no explosion if the Aubergine swelled up when boiled. Thankfully, it all worked out fine and I could blend it afterwards. You know your own soupmaker, so choose the option that suits you.


Posted on 4 Comments

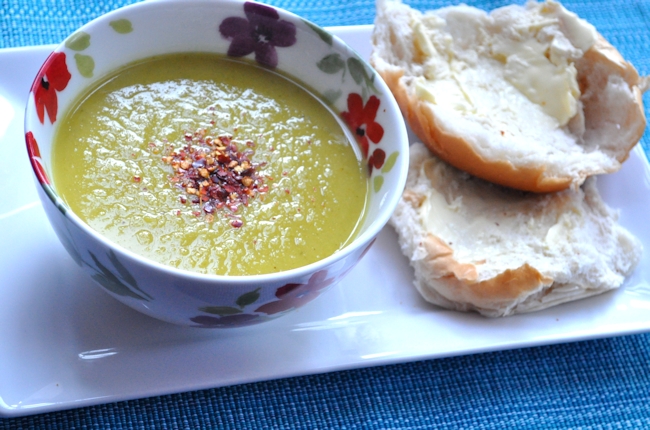
Soup Maker Recipe: Curried Parsnip and Spring Onion Soup

I find parsnips to be a bit blah on their own.  Ok, so they’re not so bad when they’re roasted, but if I’m making soup, I don’t have time for that, so the addition of herbs or spices is needed here, for it to be palatable.

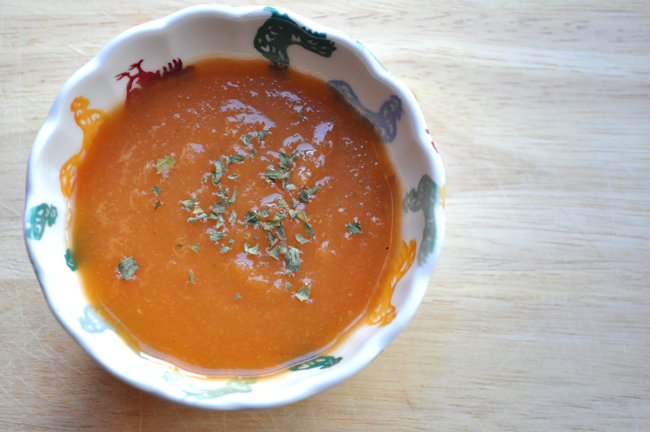
This version of curried parsnip soup relies on sauteed spring onions to bring out a great taste that compliments the parsnips themselves.  Remember, you can also make these in a pot, but might need some extra liquid due to boil off that doesn’t happen in a soup maker.  Also remember to stir well.  If you’d rather not have a green tinge to your soup, leave out the spring onion stems and add more bulbs or onions.

Soup Maker Recipe: Curried Parsnip and Spring Onion Soup

Lesley Smith
5 from 1 vote
Prep Time 10 minutes
Cook Time 21 minutes
Total Time 31 minutes
Course Soup
Servings 4 -6

Ingredients
  

  • 100 g Spring Onions Chopped. I also use the green stems.
  • 100 g White Onions Chopped
  • 500 g Parsnips Peeled and Chopped
  • 1 Vegetable Stock Pot
  • 1 Curry Stock Pot (or use 2 teaspoons of curry powder)
  • 900 ml Water Or up to the 1.6 Litre fill level.
  • 1 tablespoon Olive Oil
  • Salt and Pepper To Taste.
  • Crushed Chillies To Serve. If you dare..

Instructions
 

  • Saute your spring onions and white onions in the olive oil, vegetable stock pot and curry stock pot until the onions are soft.
  • Add the onions, parsnips and water to your soup maker.
  • Select the smooth setting for a rich soup. Optionally, you can add some cream after cooking for a more luxurious soup.

Curried Parsnip and Spring Onion 2

Posted on 3 Comments

Chicken Enchiladas Recipe

Chicken enchiladas are a great way of getting some protein into children, by the chicken and cheese, but for me, I wanted to add a little more veg, so the passata was added as a base, and to spoon over the dish.

Instead of finger food, it does take a knife and fork to eat while it’s hot, unless you’re happy to have tomatoey fingers spreading the red stuff everywhere, though as a cold snack, it’s fabulous finger food.

Chicken Enchiladas

Servings 12

Ingredients
  

  • 500 g Passata
  • 1 Medium - Large Chicken Pre-cooked and cut up or Shredded.
  • 500 g Cheddar Cheese Grated
  • pinch Parsley
  • Coriander
  • Pepper
  • 200 g Sour Cream or Sour Cream and Onion Dip
  • 100 g Onions Chopped

Instructions
 

  • Pre Heat the oven to around 350 degrees F or 175 degrees C.
  • Pre-Cook your chicken in a pan until cooked through. Add onions, sour cream, half the cheese, some parsley, coriander, pepper and chilli powder to the pan. Cook until the cheese melts into the mixture.
  • Use a large baking dish, layering the bottom with tomato passata. Lay you tortilla's out, so that you get two with each tortilla wrap. Fill each one with mixture, then arrange in your baking dish, on top of the passata. Use a spatula or teaspoon to spoon some passata over the top.
  • Sprinkle the rest of the cheese on top of the enchiladas and bake for 20 minutes.


Posted on 5 Comments

Soup Maker Recipe: Budget Chicken Noodle Soup

Have you ever gone to your cupboard when you can’t be bothered shopping, or you’re in a hurry and no time to get anything, but have some hungry mouths to feed.  This recipe is more or less down to the kids loving noodles, but not having any fresh in the house.

Feel free to change the potatoes with any other veg you happen to have handy in your cupboard.  Granted, this isn’t the prettiest soup on the planet, but it is like having a full meal in a bowl.

Soup Maker Recipe: Budget Chicken Noodle Soup 1.6 Litres

Lesley Smith
Prep Time 10 minutes
Cook Time 28 minutes
Total Time 38 minutes
Course Soup
Servings 4 -6

Ingredients
  

  • 1 packet Chicken Noodles Approximately 85g
  • 1 Chicken Stock Cube
  • 250 g Cubed Potatoes
  • 200 g Pre-Cooked Chicken Shredded
  • 1 Dessert spoon Flour
  • 1 l Boiling Water

Instructions
 

  • Open your pack of instant noodles and break them up as you put them into your soupmaker.
  • Add the cubed potatoes, stock cubes and the pack of flavouring from your noodles. Put the chicken in, then stir in the litre of boiling water. Make sure you do not overfill your own machine if it is different from mine.
  • Choose a chunky setting for a bowlful that looks like a casserole, or blend it for a smooth version.


Posted on 20 Comments

Soup Maker Recipe: Carrot and Coriander Soup

This is a luxurious and tasty, not to mention creamy soup, intended for soupmakers up to 1.6 litres.

If you think it may be too rich for you, replace the cream with more boiling water or stock and away you go with the low calorie version.

Soup Maker Recipe: Carrot and Coriander Soup

Course Soup

Ingredients
  

  • 1 teaspoon Olive Oil
  • 200 ml Fresh Cream
  • 1 teaspoon Ground Coriander
  • 800 ml Boiling Water
  • 1 Stock Pot Vegetable or Chicken
  • 600 g Carrots Peeled and Sliced or Chopped
  • 75 g Onion Chopped
  • 75 g Potatoes Sliced

Instructions
 

  • Saute the onions in the olive oil, adding your stock pot as the onions soften.
  • In the pot, add your onion mix, and the rest of your ingredients. Make sure to stir well before switching it on. It really does help to avoid soup sticking to the base of your soup maker if you don't have a non stick surface.
  • Select the smooth function for this option.
  • Serve with croutons.


Posted on 18 Comments

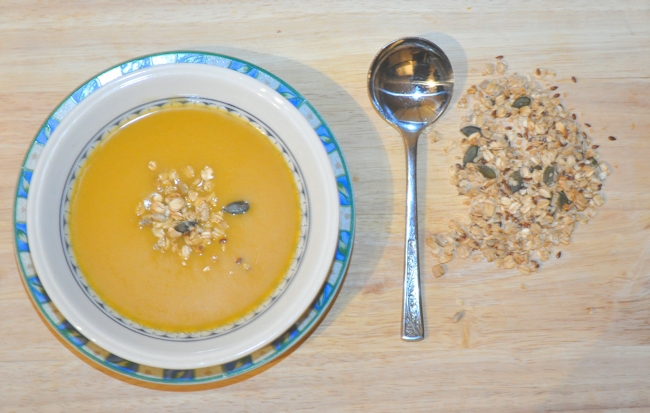
Soup Maker Recipe: Winter Vegetable Soup

This usually just involves whatever you have in your vegetable drawer over winter.  Don’t be too strict with your choice of ingredients, just enjoy the soup when it’s ready.  This version is red onion, potatoes, leek, turnip and carrot.

Soup Maker Recipe: Winter Vegetable Soup Recipe – 1.6 Litres

Lesley Smith
5 from 3 votes
Prep Time 10 minutes
Cook Time 21 minutes
Total Time 31 minutes
Course Soup
Servings 4 -6

Ingredients
  

  • 150 g Red Onions Sliced
  • 150 g Leek Chopped
  • 100 g Carrot Sliced
  • 100 g Swede or Turnip (Chopped)
  • 200 g Baby Potatoes Washed and Thrown In Whole
  • 50 g Butter
  • 1 Chicken Stock Pot
  • 800 ml Boiling Water or Stock

Instructions
 

  • Saute your onions and leek for a couple of minutes, until they're soft, but still light in colour.
  • Add all your ingredients to the pot, stir well and select your chosen setting.
  • We like smooth soups most, so we chose the smooth option on our Morphy Richards. If you are going for chunky soup, you might prefer to chop your vegetables smaller and peel your baby potatoes.
  • Serve hot with fresh bread.


Posted on 2 Comments

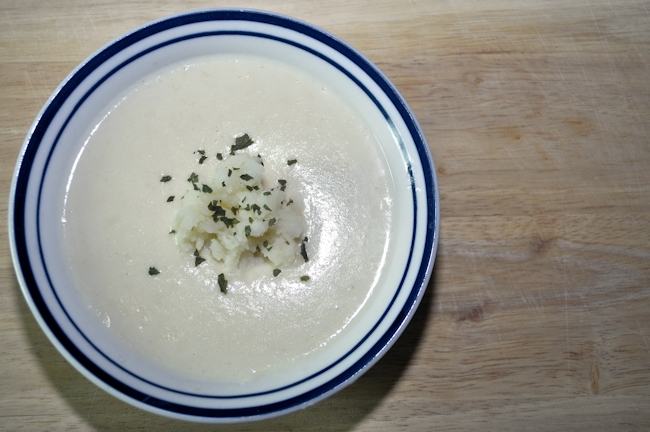
Soup Maker: Scottish Cullen Skink Soup Recipe

I’ve seen lots of different recipes that say they’re Cullen Skink, but the traditional way is to use smoked haddock, onions and mashed potatoes.  Using the traditional Cullen Skink Recipe requirement of pre cooked and mashed potatoes wasn’t an option for the slow cooker, as I wanted to be able to add the potatoes to cook in the pot like the other soup maker recipes.

I used regular haddock rather than smoked haddock, as I’m not a smoked fish fan.  If I’d used the smoked haddock, then I wouldn’t have eaten it.  Smoked fish is a very niche taste, with a smaller potential base of people who would enjoy it, so change your ingredients to suit your own tastes.

Using the water from the poached fish as the fish stock for your soup is what makes the dish.  Without it, the taste will be diluted and it will simply taste of heated milk.

In the end, I had a wee bit of a disaster when my soupmaker gave up the ghost half way through and shorted out.  It meant I had to transfer it to a pan to finish the job for this recipe, but it still turned out very nice.    To serve, I simply dolloped in some mashed potatoes made for the supper that evening, with a dash of parsley on the top.

Presentation wise, this is a lovely soup to dish up.  It would look perfect on any dinner table with some decoration on top of the actual soup itself.  A piece of cooked fish would also work really well sat on top of the mashed potatoes.  This is more of a meal in a plate than a regular soup, so be ready to have a full stomach after only one bowl full.

This is my version.  How would you make yours?

Soup Maker: Scottish Cullen Skink Recipe

Lesley Smith
Prep Time 10 minutes
Cook Time 21 minutes
Total Time 31 minutes
Course Main Dish
Cuisine British
Servings 4 -6

Ingredients
  

  • 400 g Potatoes - Diced Small
  • 300 g Cooked Haddock Usually Smoked but we use Unsmoked
  • 100 g Onions - Chopped and Sauteed
  • Salt
  • Pepper

Instructions
 

  • Poach the haddock on some water on the stove for around four minutes, until fully cooked.
  • Remove the haddock and strain the fish stock that's left over.
  • Add the potatoes, onion and fish to the soup maker and 200ml of the fish stock. Top up with 600ml semi skimmed milk. Add a teaspoon of salt and pepper.
  • Set your soupmaker to the smooth setting and wait until it's done. You may need to reblend to get the consistency you prefer.
  • Optional. Add up to 100ml of fresh cream and mix well to serve. This soup is not suitable for freezing.


Posted on 1 Comment

Review & Easy Chicken Casserole Recipe: Using Tesco Berndes Cookware, From the Tesco Sticker Promotion

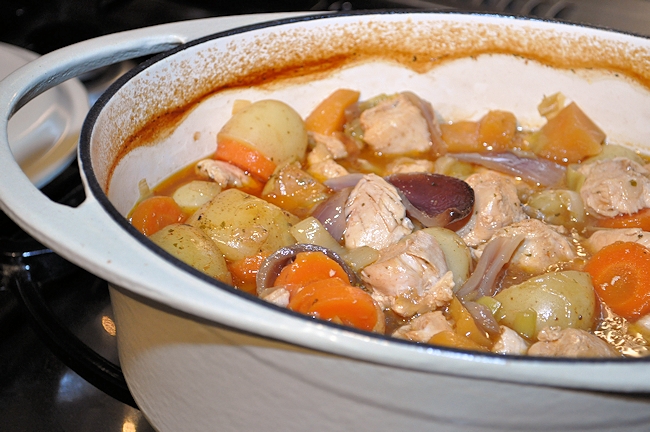
We gratefully received a Tesco Berndes Cookware cast iron casserole dish, from the Tesco Kitchen range, with the challenge of creating a meal in one pot.  I’m familiar with one pot cooking by using my slow cooker, but cooking a meal in the oven as a casserole hasn’t been a common occurrence for me.  The only casserole dish I owned, was not quite able to hold a full meal for six people, so my new dish was perfect for the job.

I really like the large handles at either side of the pot, as they make the dish easy to remove from the oven.  I could fit my hands with oven gloves on around the handle.

Don’t forget to put an oven glove back on to lift it again though.  Four of my fingers suffered when I made that rookie home cook mistake.

Berndes 3

The Berndes Casserole dish has received 5 out of 5 in a recent review on independent.ie, beating some big name rivals! Read the review here.  There are three sizes, the 20cm, 24cm and the biggest, which is 29cms.

In-Store Sticker Promotion:

Tesco are running a sticker promotion between 29th September – 25th January 2015 where you can save up to 70% on exclusive Berndes cookware products at Tesco. For every £20 you spend online OR in-store you can collect a sticker, once you’ve collected five stickers you can use these to save up to 70% off professional kitchenware items.

The Berndes range of casserole dishes starts at £119, up to £134.99.  You can save up to 70% off the Berndes cookware range with 10 stickers at Tesco, find out more at bit.ly/1uwNo3f  You can use your stickers up to Sunday, the 11th of January 2015.

Giveaway

I’m also giving one of these fabulous dishes away.  For the giveaway, the colourful 24cm dish is the prize, and it’s a lovely one, worth £120.  Keep an eye out on the blog, as it will be live later today.

Berndes 24 cm Casserole Dish


Tesco Challenge For Me:

To create a meal in a pot and share the recipe with them.

My Recipe For The Tesco One Pot Challenge:

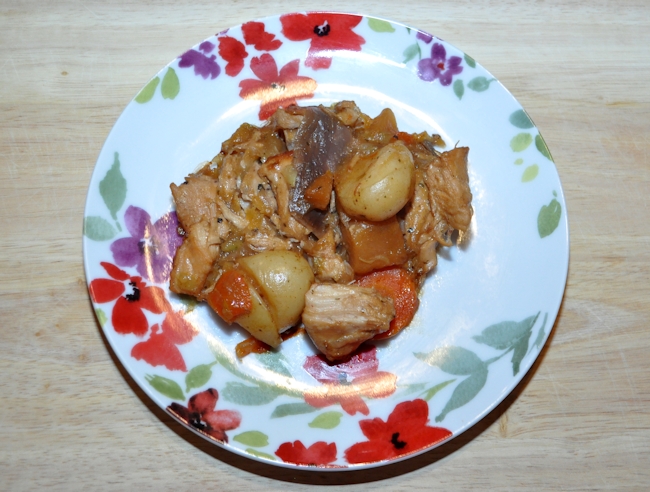
Easy Chicken Casserole Recipe

Course Main Dish

Ingredients
  

  • 1 Chicken Stock Pot
  • Boiling Water
  • 50 ml Olive Oil
  • 1200 g Mixed Vegetables I used baby potatoes, leek, carrot, turnip and red onion.
  • 1 Colemans Chicken Casserole Sachet
  • 5 Chicken Breasts Diced
  • 3 heaped teaspoons Cornflour
  • 3 tablespoons Cold Water

Instructions
 

  • Set the oven to 220 Degrees C.
  • Add the olive oil to a shallow frying pan, then sear the chicken to seal the meat. Add the onions and carrots towards the end to lightly fry those.
  • Add the chicken and vegetables to the casserole dish. Top with the chicken casserole mix and stock pot. Fill the dish to almost three quarters of the level of contents, stir, then cover the dish with a lid, or tin foil.
  • Reduce the heat of the oven to 180 Degree C and cook for up to 2 hours, or the chicken and vegetables are fully cooked.
  • If you prefer a thicker gravy, remove the casserole from the dish about ten to twenty minutes before the end of cooking. Mix cornflour with a little water until it is fully dissolved. Add it to the dish and fold into the casserole. Put the casserole back in the oven until the gravy has thickened.