
Figs are a relatively new fruit to me. Yes, I know, I’ve lived a sheltered life, but until quite recently, one had never reached as far as my shopping trolley. I blame my mum….. We tend to buy what our parents bought, and until a couple of years ago, I tended to buy all the same sorts of ingredients.

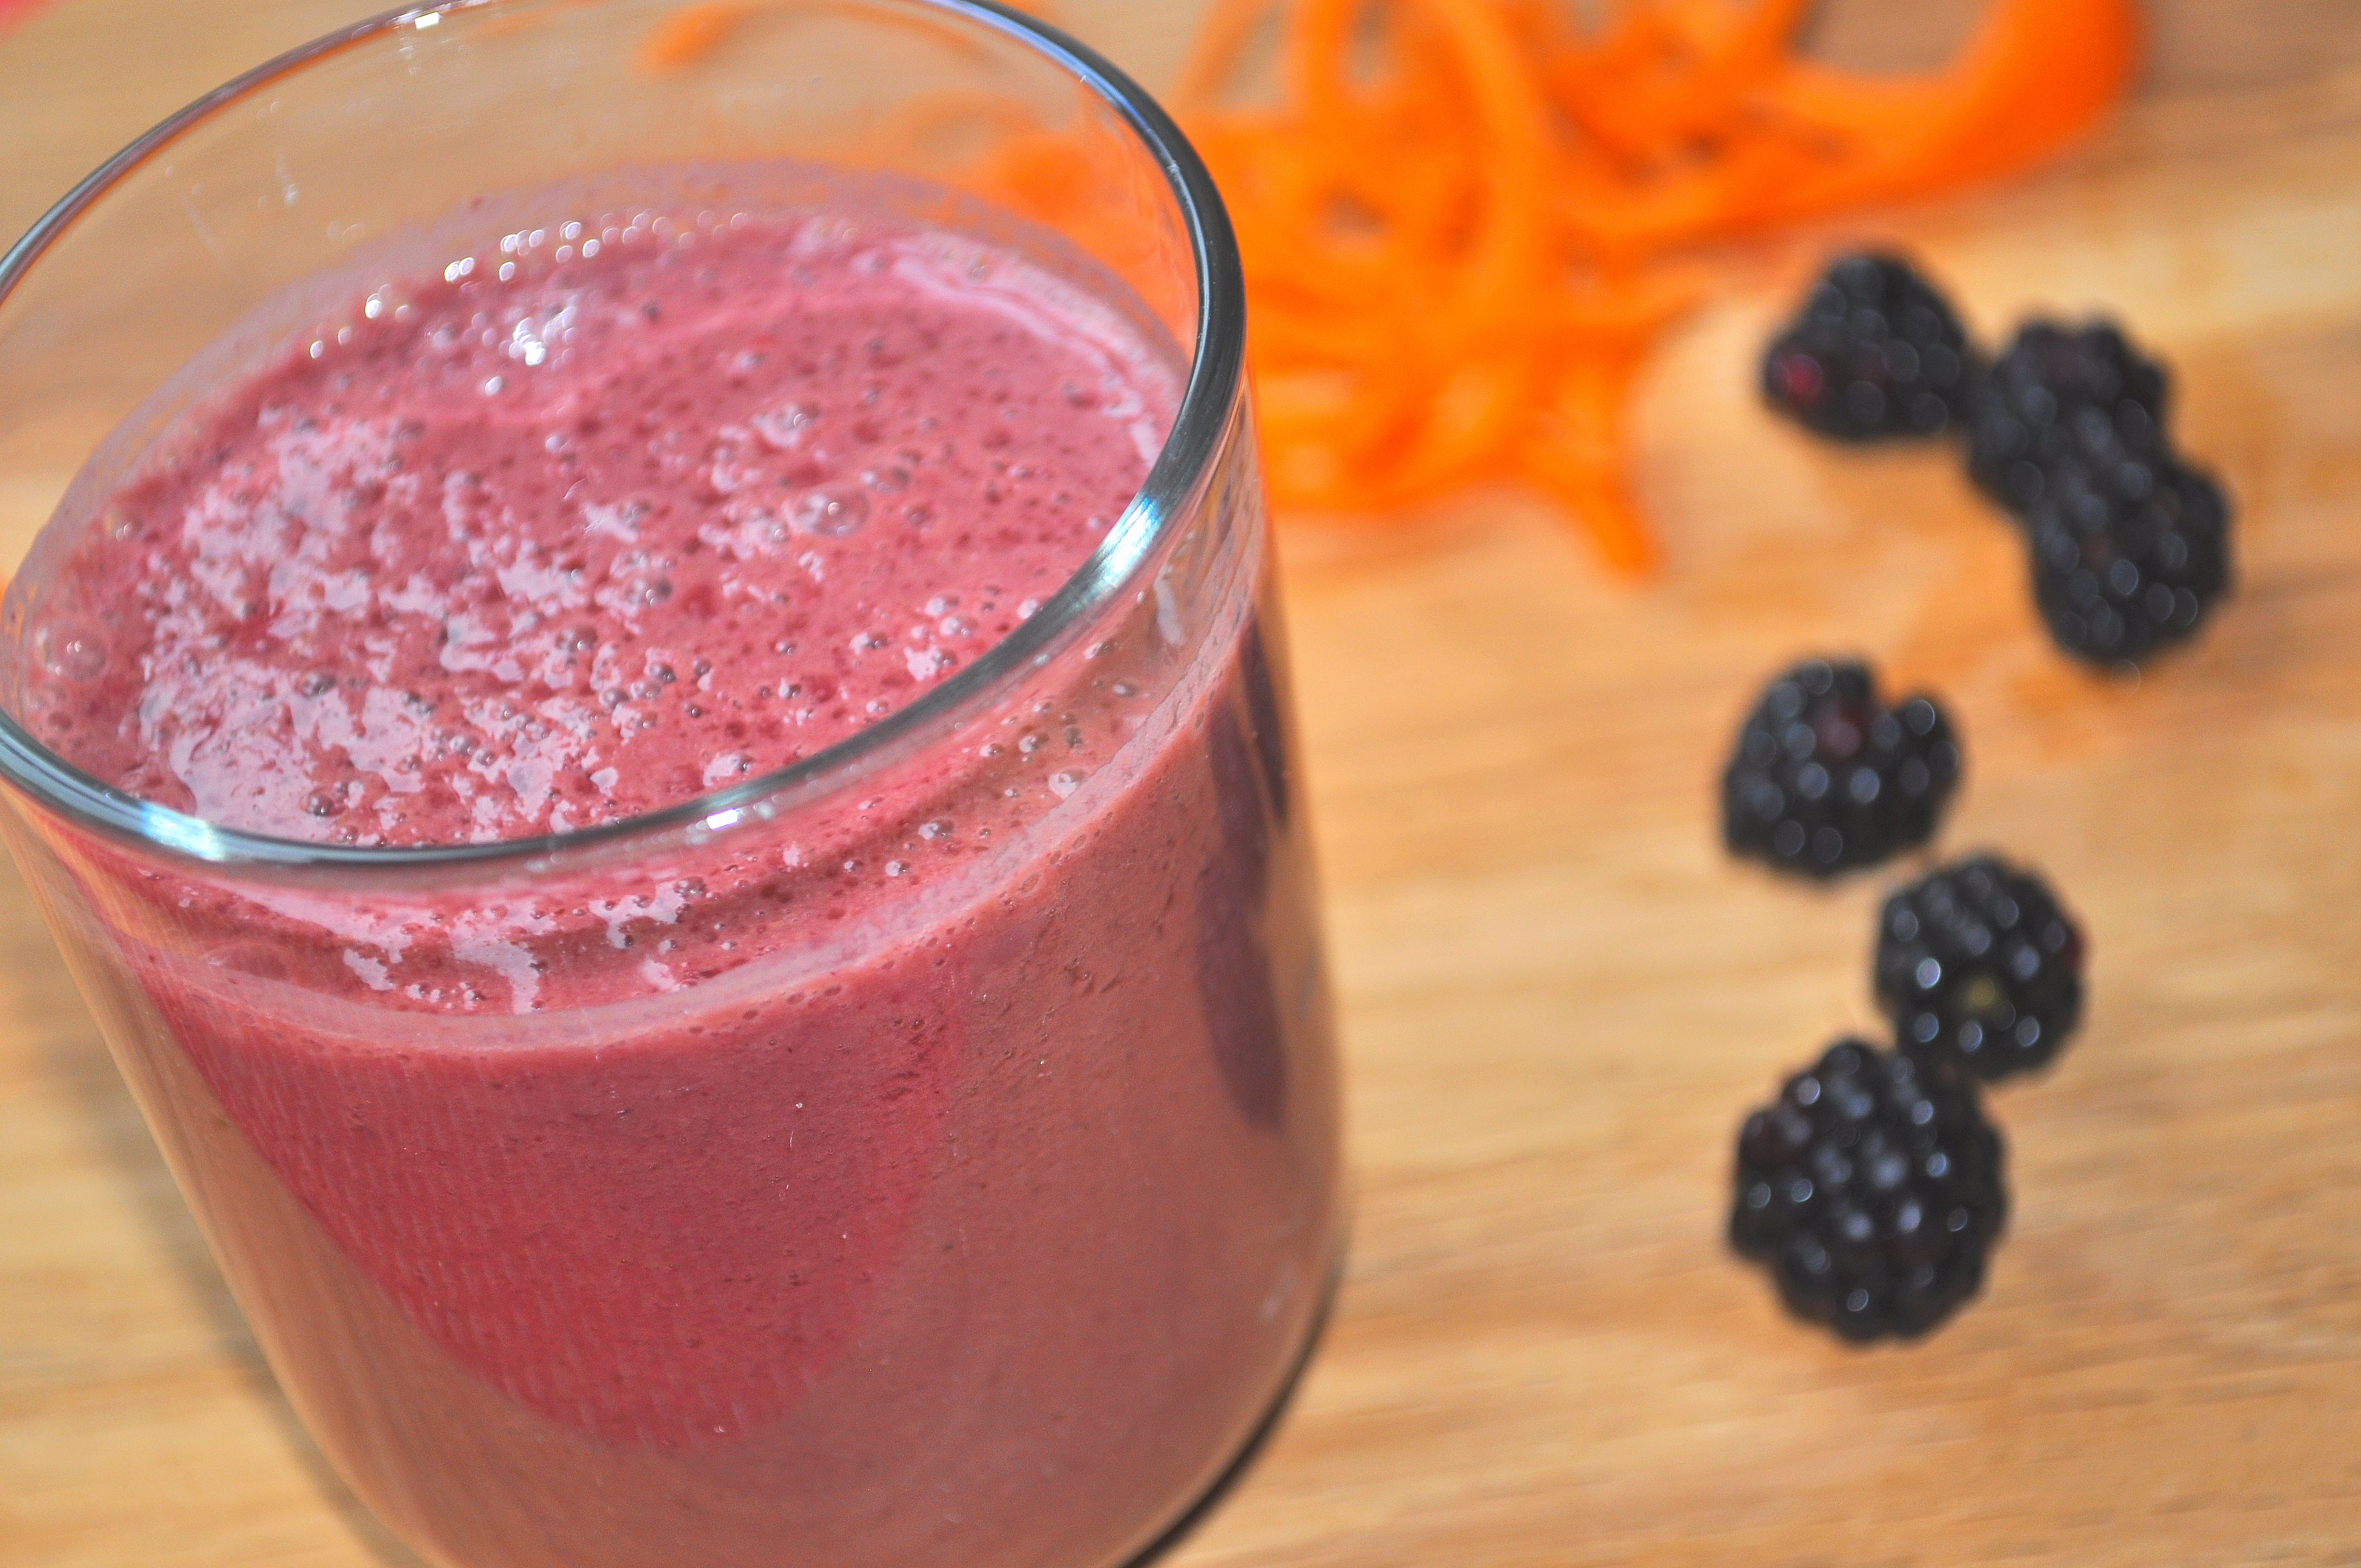
Figs are tasty whether they’re fresh or dried, but personally, I prefer mine fresh. I like to use them in soups or smoothies.
Where did figs come from?
Originally, it’s likely they came from somewhere in the Middle East, and then exported around the world. There are many different varieties, but the ones I come across most often are the ones with black skins and richly coloured flesh.
The seeds and skins are perfectly edible, which makes them ideal for smoothies, with their sweet flavour, which adds depth to any mixture of healthy ingredients. They’re often used in cooking, and can taste amazing in a jam.
Why choose a fig?
Quite simply, they’re pretty good for us. When I first thought about buying, I was put off by the calorie count, which was slightly higher than my usual berry purchases, but with great fibre included, as well as helping reduce the size of our appetites, it was a no brainer to try them.
As a good source of calcium, I checked on a nutrition website to see what benefits there were. In just one large fig, there is around 148mg of potassium, which is one thing I always seem to be missing in my diet. Just for that alone, it was worth including. As with many fruits, the carb content is around 10-12g per large fig, but I can forgive that for the other benefits of eating them.
The drawbacks.
Yep, the L effect, or in other words, the potential for being a slightly laxative effect if consumed in high proportions, so don’t decide that they’re so delicious that you’re going to eat many of them in one sitting.
People with kidney or gallbladder problems might also want to take advice from their doctor before tucking in, as they may cause problems with the balance of body fluids.
How to eat them?
Your choice is dried or fresh. I prefer to use fresh, but if there were no fresh around, I might be tempted to add a few grams to a smoothie to sweeten it.
Fresh figs also make a great colourful addition to any salad. Why not try them for yourself?


 Galloway Cheddar
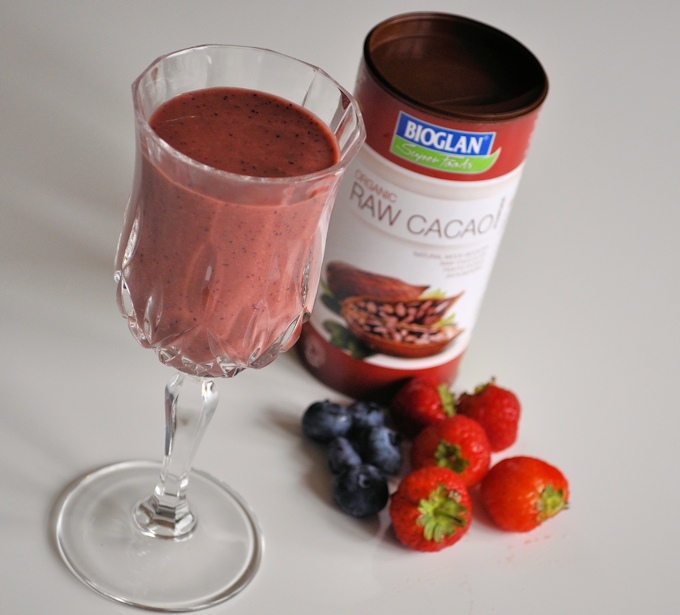


Yep it works perfectly. Get a good crumbly stilton though.
My old machine said hot or cold water. No way cold water cooks the veggies in my old machine. Actually…
[…] liquid. Using boiling water for stock can speed up cooking, according to user tips published by Scottish Mum (Practical…