

I’ve written nothing really to do with Covid-19. I think Coronavirus is in the news enough, without bloggers jumping on the weekly covid update posts, but it’s also not something we tend to be able to ignore either. For myself and my family, a lazy spell in the first lockdown, has moved towards a more proactive time for us in the Scottish Mum house.
I’d got lazy with cooking, so have gone back to basics this time around, with the sole intention of improving my own heart health. I had stopped running when I fell and twisted both ankles in the first lockdown, and having to learn to run again wasn’t the easiest of things to do with two weak ankles. I’m getting there, and I’m up to 30 minutes of uninterrupted slow running, but it’s been tough going.
Eating better again, is helping. Here’s a short snapshot of ingredients I use frequently for heart health, with their main nutritional content.
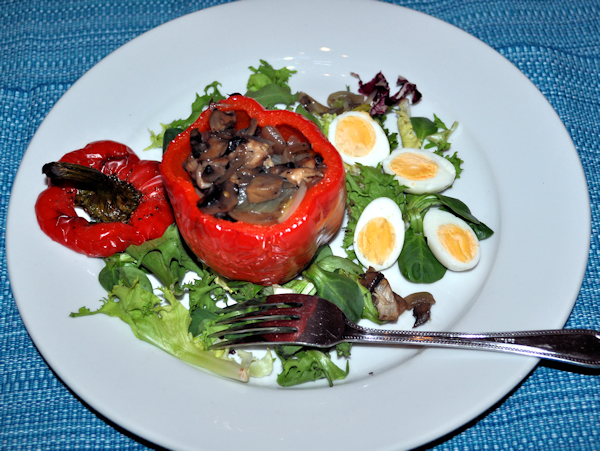
Peppers Each pepper, average  – Calories: 37kcal – Carbohydrates: 7g – Fiber: 5g – Saturated Fat: 0.36g – Unsaturated Fat: 0.084g – Protein: 4g – Sodium: 2.3mg | Avocado 100g – Calories: 160kcal – Carbohydrates: 9g – Fiber: 7g – Saturated Fat: 2.1g – Unsaturated Fat: 11.8g – Protein: 2g – Sodium: 7mg |
| Salmon 100g – Calories: 88kcal – Carbohydrates: 0g – Fiber: 0g – Saturated Fat: 0.4g – Unsaturated Fat: 0g – Protein: 17g – Sodium: 131mg | Broccoli 100g – Calories: 34kcal – Carbohydrates: 7g – Fiber: 2.6g – Fat: 0.4g – Protein: 6g – Sodium: 33mg |
| Cauliflower 100g (High in Potassium) – Calories: 25kcal – Carbohydrates: 5.3g – Fiber: 2.5g – Unsaturated Fat: 0.1g – Protein: g – Sodium: mg | Nuts 100g (Walnuts) – Calories: 654kcal – Carbohydrates: 13.7g – Fiber: 6.7g – Saturated Fat: 6.1g – Unsaturated Fat: 56g – Protein: 15g – Sodium: 2mg |
| Tomatoes 100g – Calories: 18kcal – Carbohydrates: 3.9g – Fiber: 1.2g – Saturated Fat: 0g – Unsaturated Fat: 0.1g – Protein: 0.9g – Sodium: 5mg | Garlic Clove – Calories: 4kcal – Carbohydrates: 0g – Fiber: 0.1g – Saturated Fat: 0g – Unsaturated Fat: 0g – Protein: 0.2g – Sodium: 0.5mg |
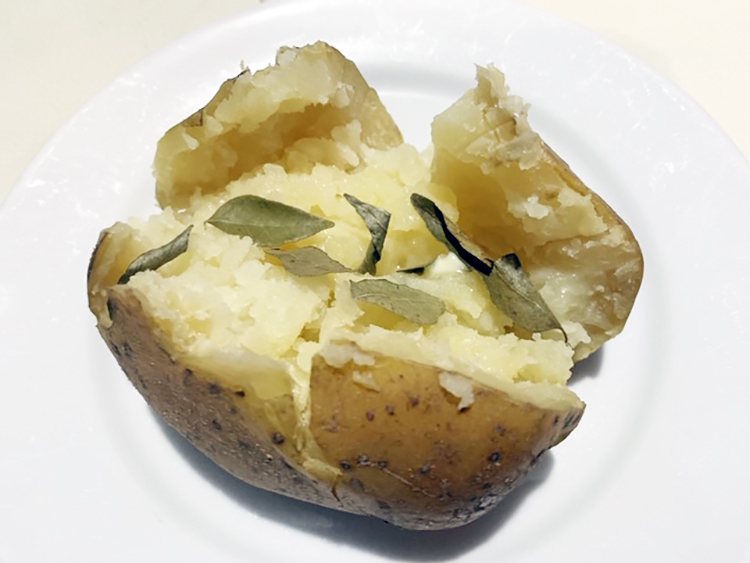
| Potatoes 100g – Calories: 58kcal – Carbohydrates: 12.4g – Fiber: 2.5g – Fat 0.1 g – Protein: 2.6g – Sodium: 10mg | Sweet Potatoes 100g – Calories: 90kcal – Carbohydrates: 21g – Fiber: 3.3g – Fat: 0.2g – Protein: 2g – Sodium: 36mg |
| Butternut Squash 100g – Calories: 41kcal – Carbohydrates: 11g – Fiber: 6.6g – Fat: 0.2g – Protein: 1g – Sodium: 4mg | Celery 100g – Calories: 16kcal – Carbohydrates: 3g – Fiber: 1.6g – Fat: 0.2g – Protein: 0.7g – Sodium: 80mg |
| Carrots 100g – Calories: kcal – Carbohydrates: g – Fiber: g – Saturated Fat: g – Unsaturated Fat: g – Protein: g – Sodium: mg | Turmeric 1tsp – Calories: 4kcal – Carbohydrates: 0.7g – Fiber: 0.2g – Fat: 0.1g – Protein: 0.1g – Sodium: 0.5mg |
| Ginger Root 1tsp – Calories: 2kcal – Carbohydrates: 0.4g – Fiber: 0.1g – Fat: 0g – Protein: 0.1g | Soy Beans Cooked 100g (High in Potassium) – Calories: 112kcal – Carbohydrates: 13.8g – Fiber: 10g – Fat: 2.5g – Protein: 8.8g – Sodium: 25mg |
| Okra 100g – Calories: 33kcal – Carbohydrates: 7.4g – Fiber: 3.2g – Fat: 0.2g – Protein: 1.9g – Sodium: 7mg | Medjool Dates Each date – pitted (high in potassium) – Calories: 66kcal – Carbohydrates: 18g – Fiber: 1.6g – Saturated Fat: 0g – Unsaturated Fat: 0g – Protein: 0.4g – Sodium: 0.2mg |
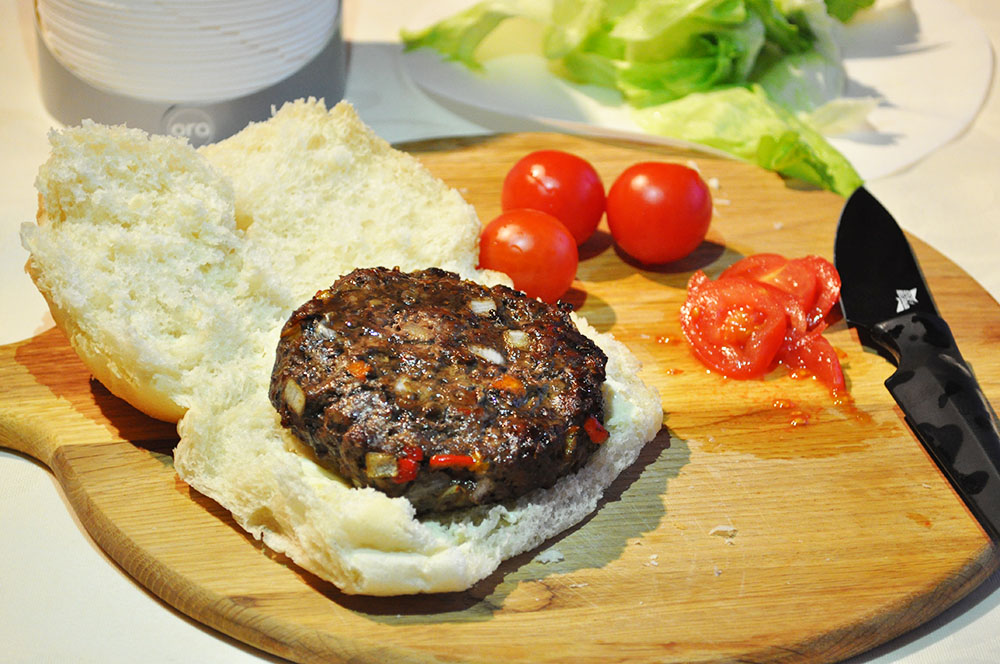


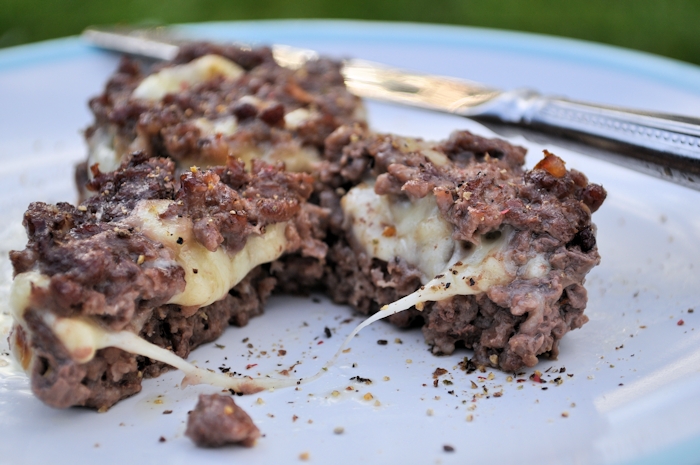
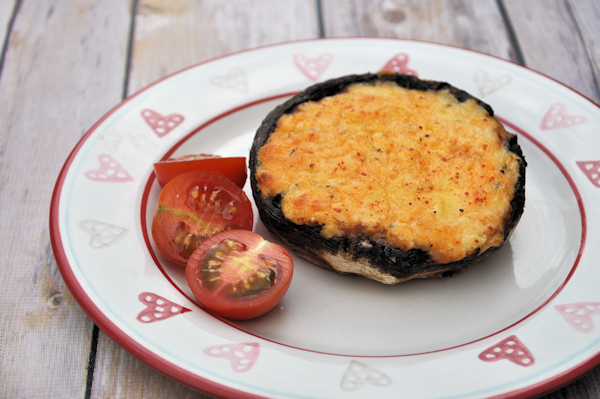
 A little lockdown favourite that my son makes. Cheese is such a versatile ingredient to use in cooking of all kinds, and Babybel adapts well as a replacement for meat in this type of fast food dish.


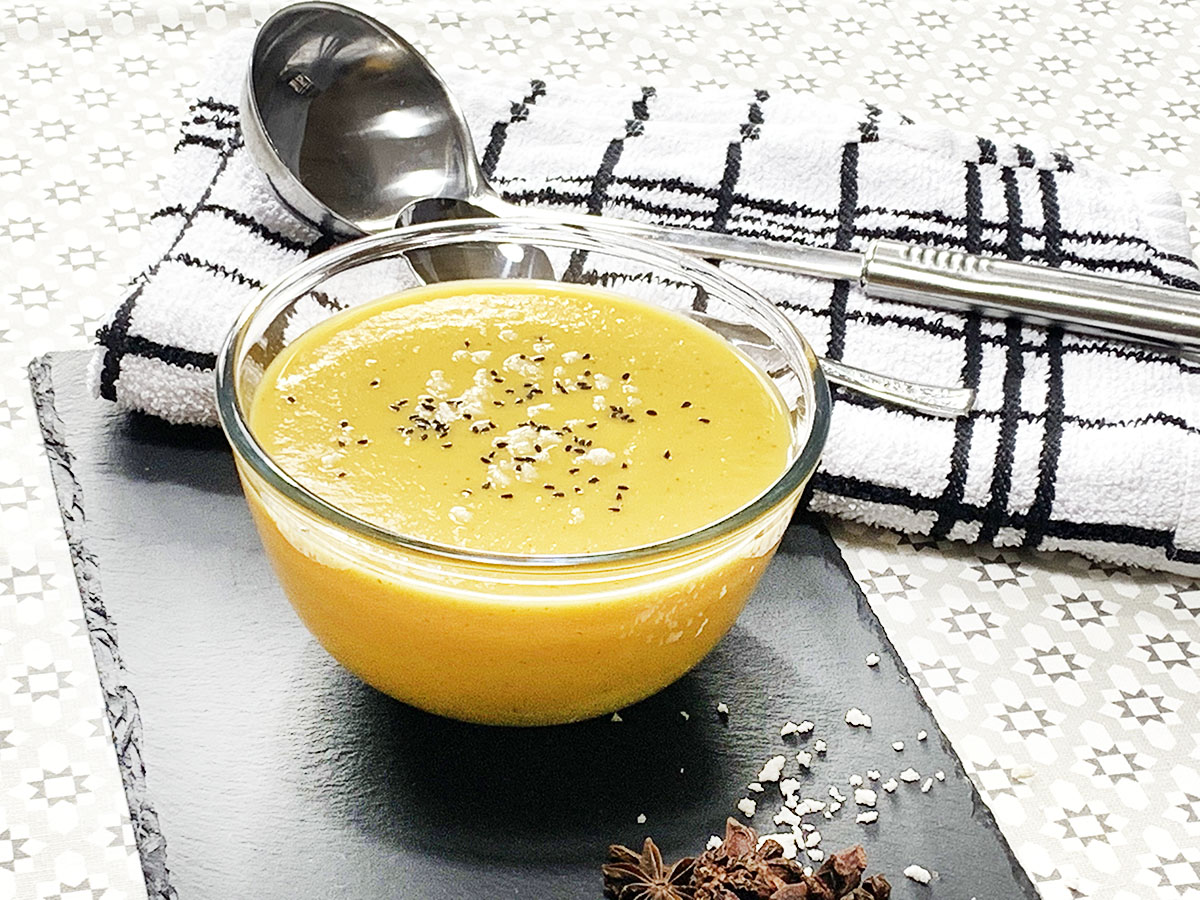
My old machine said hot or cold water. No way cold water cooks the veggies in my old machine. Actually…
[…] liquid. Using boiling water for stock can speed up cooking, according to user tips published by Scottish Mum (Practical…
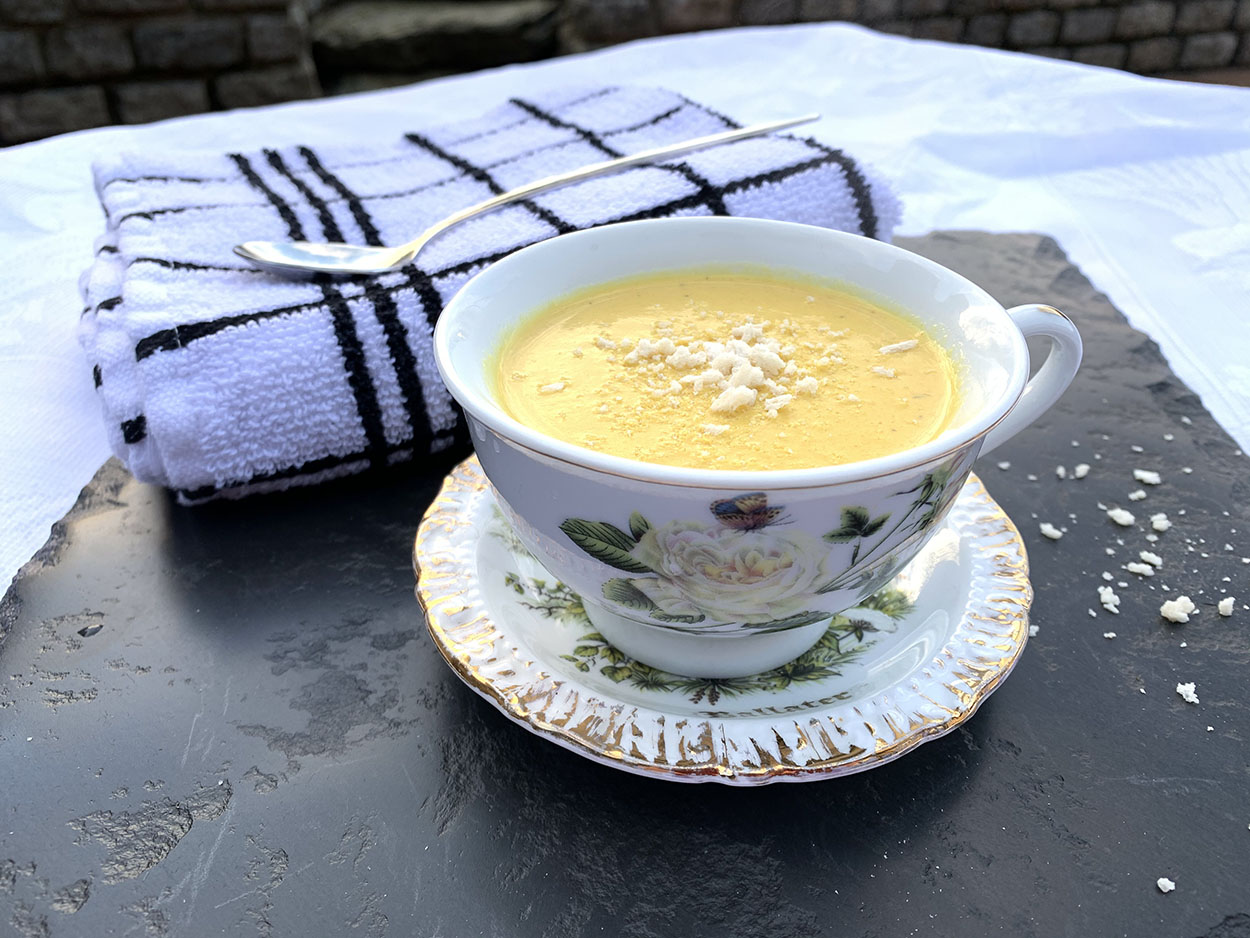
Quick, creamy, and packed with zing this is my kind of lunch Thanks for the easy, nourishing recipe, Scottish Mum.