


I am quite surprised to be nominated for the BritMums Brilliance in Blogging Awards for 2014

Stage 1
I’ve been nominated in the Food category, so for whoever put me forward for it, I am very grateful indeed. It’s lovely to think that someone made the effort to have us listed. The shortlist consists of 16 bloggers out of the man who have been nominated. 11 were chosen by other bloggers, and 5 were chosen by the BritMums judges.
BritMums has about 4000ish bloggers as part of it’s continually growing network. I can’t remember how many there were when I started off, but it wasn’t a lot. I’ve not been to a BritMums conference since 2011, so its been a long time since I’ve really met many other bloggers from the network.
Getting down to the 16 shortlisted bloggers in the food category is really nice and quite a surprise. There are so many great blogs out there, that I’m quite shocked, in a lovely way.
Stage 2
The BIBS have now opened up for voters to choose which if their favourite blogs from each category will win the overall award for 2014.
I know most of you who read my blog do it by e-mail rather than coming directly to the blog online as I send out the whole post, so I know it would be a big ask to get you to log in online and give me a wee vote, but if any of you feel up to it, I’d be delighted.
Out of the 16 bloggers in each category, there will be 6 finalists in total. 4 will be chosen by blogger votes and 2 will be selected by the BritMums to go forward to the judging panel.
You can only vote once as the form has been designed to only allow one vote per person in each category.
Finalists will be announced on the 23rd May.
Voting is open now and the form will stay online until Friday 16th May.

Obviously, if you do decide to vote for your favourite bloggers, I’d be delighted if you included me as one of the votes in the food category, but even if you don’t vote for me, please do vote in the BiBs as each vote counts for whoever you vote for.
BritMums is hosting an award and party night at BritMums Live on 20th June, and the winners will be announced then.
The last thing I would say is that I wish all the shortlisted bloggers in their categories the best of luck. Thank you to those who put me into the shortlist, I am very grateful for my lovely readers. x


Scottish food isn’t just about haggis and deep-fried Mars bars you know, although if you want to sample those delicacies they are of course readily available in Edinburgh. But Edinburgh is actually a gourmet’s paradise, packed with fantastic restaurants from the humble-yet-delicious to the Michelin-starred. And of course when dinner is over, there’s always a tempting-looking bar or pub round the corner to have a nightcap in. If you’re planning a short break full of eating and drinking to your heart’s content in the Scottish capital, it’s a good thing it’s easy to find a Travelodge in Edinburgh, so you can use the money you save on the hotel to put towards your dining fund!
Fine Dining
If you want to push the boat out to impress that certain someone, you’ve come to the right place. TV’s Saturday Kitchen regular, the aptly named Tom Kitchin is Edinburgh’s best-known celebrity chef and his two restaurants The Kitchin and Castle Terrace consistently receive rave reviews. Michelin-starred Martin Wishart in Leith also has the accolades and the waiting list to match.
Romance
Edinburgh is full of hidden gems worth tracking down for a date night to remember. The Stockbridge Restaurant, Le Café St Honoré and Angels With Bagpipes will give you the full candlelit experience but when it comes to rolling out the red carpet romance-wise, The Witchery, with its wood paneling, sumptuous food and Castle-side location will give you an evening out you’ll never forget.
Pubs
Edinburgh is famous for its pubs and with good reason – they’re plentiful and for the most part friendly and welcoming. If you fancy a bit of a pub-crawl, the Grassmarket area is the traditional place to start – try The Beehive for your first pint. Rose Street, which runs parallel to the main shopping streets of Princes Street and George Street is another favourite drinking drag – handy if all that shopping brings on a bit of a thirst. The best thing about Edinburgh pubs is of course the Scottish licensing laws, which mean that most venues are open till at least midnight, sometimes later.
On The Go
Edinburgh is packed with fabulous cafes serving up cakes, coffees and more substantial fare. Glass & Thomson in the New Town is the perfect place to relax with a coffee and a slice of cake and Urban Angel on Hanover Street is where to head for a lazy brunch.
Bars
If you fancy making a real night of it, Edinburgh has a thriving bar scene. Also home to the most upmarket shops, George Street is a good place to sample Edinburgh at its most glamorous – try Tigerlily for a pre-dinner drink and you’ll see why. Or Rick’s on Frederick Street and The Bon Vivant on Thistle Street, both of which also do great food, and are perfect places to party with Edinburgh’s beautiful people.
Phew, after all that, you’ll be ready for a good night’s sleep before getting up to do it all again. Cheers!
I’ve teamed up with Specsavers to launch a photography competition. It’s to capture the special bond struck up by children with their friends, siblings or even their family pets from a young age.
The winner of the competition will scoop a Pentax WG-3 digital camera worth more than £250 and a free sight test and eyecare for the winning parent and child, so it’s a really good prize to win. The Pentax WG-3 camera is a waterproof, coldproof, shockproof and crushproof digital camera and comes in orange. I just wish I could enter myself. I’d personally love this camera.

Anyone who reads my blog can enter, and the competition is to celebrate the start of Specsavers ‘two free pairs’ promotion in-store at stores across Scotland, which will see children qualify for one pair of specs free from the NHS and a second free pair from Specsavers free of charge.
Specsavers was founded in 1984 by husband and wife team, Doug and Dame Mary Perkins, who pioneered the optical joint venture partnership model and also revolutionised the industry with their innovative concept of affordable, fashionable eyecare for everyone.
As my optician of choice, specsavers are the suppliers of my current face framing eyewear and contact lenses. I find them good quality, reasonably priced and very friendly.
Dave Quigley, regional chair for Specsavers Scotland,says: ‘To celebrate our fantastic new offer we’re celebrating that perfect pairing that makes our children so happy. We know that at a young age, friendships are vitally important, it’s that bond that we’re hoping to capture through our photography competition.’
![]()
The two free pairs offer is available now and is valid for children up to the age of 16. Details and information on NHS sight tests are available in store or online at Specsavers Online.
The Competition:
Obviously I can’t enter, but I’ve included a picture of mine from when my youngest had only been with us for two days. My boys are adopted and three whirlwinds arrived to upset my resident canine baby at the same time.
This picture of the baby with my spoiled young girl lab was the beginning of a long beautiful friendship. She inched closer and closer and they stayed in that spot for almost an hour, sizing each other up. They became instant friends and are still close now that she is nearly 14 and the wee boy in the picture almost 12.

To Enter:
Photos submitted to the competition can be taken by either a child or a relative, so long as they capture the child’s favoured pairing.
The competition will be judged by Specsavers.
I would like to post the winning entry on my blog, as would Specsavers, so please ensure you are happy for it to be published before sending it in.
Obviously I would like everyone who enters (or even those who don’t) to leave a comment and Tweet or Facebook about it, but it isn’t mandatory. As it’s a photographic competition, you can enter by either:
Add your entry to the linky below if you wish to share your fabulous photos. I’ve added mine although it doesn’t count, to show you how it will look.
That’s it, easy peasy. The competition will close on the 31st May 2014 at midnight.
As long as I get the photograph and a way to contact you, your entry counts.
Terms and Conditions:
Apologies, the photos are a bit rubbish, I just snapped them with my phone.

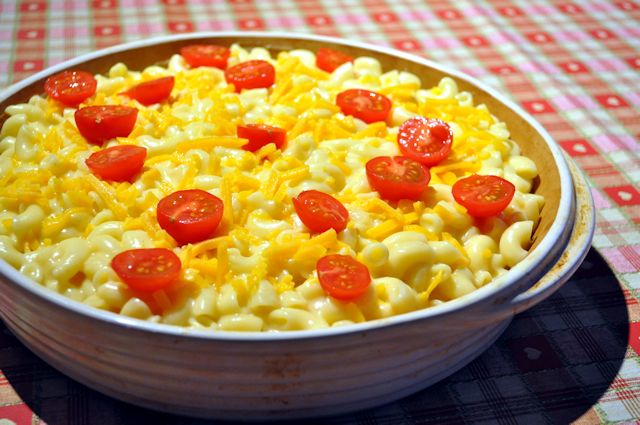
This recipe is one that I came up with to make macaroni cheese just that little bit better, and with more taste than my older versions. Adding the garlic brings out a fabulously strong taste that is just enough for me to taste but not as much as will put the kids off eating it.
I tend to make macaroni and cheese when I don’t have much time and the kids are saying they’re ravenous. I always have some grated cheese in the freezer and just put it in the microwave on defrost for a few minutes before putting it into my white sauce.
If you don’t have the traditional shaped macaroni, you can use almost any other pasta that you have for a similar effect. I also used to use mozarella, but have now moved to a stronger cheddar, which the kids seem to prefer.
Go on, experiment with your pasta.

Using a breadmaker is like coming home to warm slippers. Yes, really. It’s so handy to have if we run out of shop bread and means I don’t have to run out for extra supplies late at night for the next days packed lunches.

I have a Panasonic which is fairly aged now but it still churns out the bread beautifully. It also means I can put some in the freezer too.


We have an allotment, but we call it the plot. It’s great for the kids and it means they get to know the origins of our fruit and vegetables in life. It’s good for middler as he gets to potter in dirt and keeps the garden for being a garden. It also means the hub can take a child or three now and then to give me a bit of peace.
I wrote about the plot first here, where the old shed that stood on it was falling down and in a terrible state. You can also see the completely overgrown plot area where the people are all trampling over. It seemed to be mostly carpet sewn into grass and earth.
Last year, I wrote about it as it moved along here. This year I am hoping to get many more and better pictures as our goodies grow.

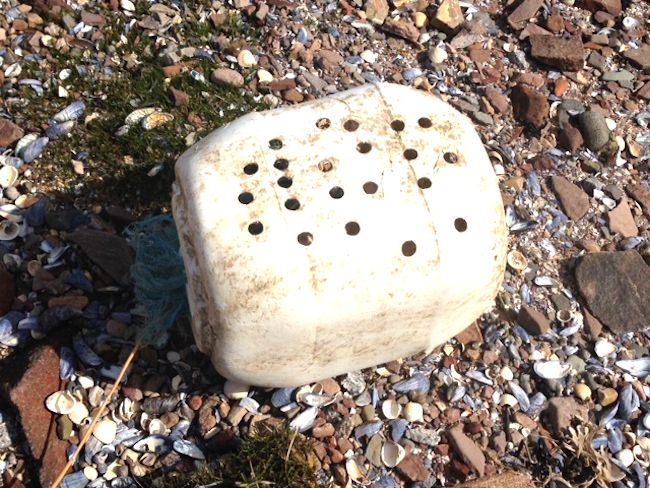
The man built a new shed rather than buy one as he wanted a sturdy wee box to live in while he is there.

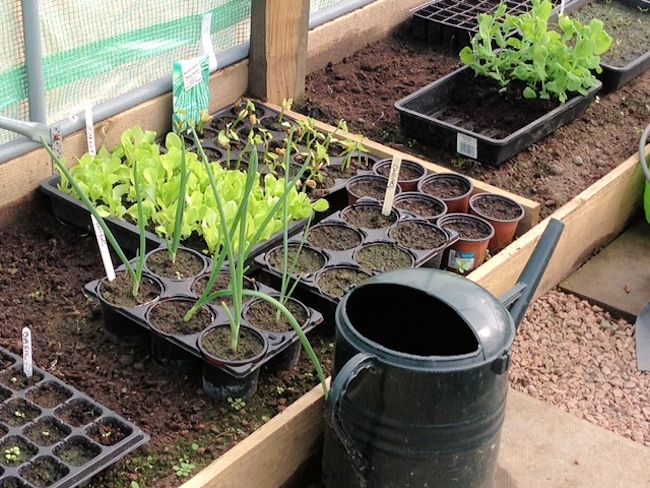
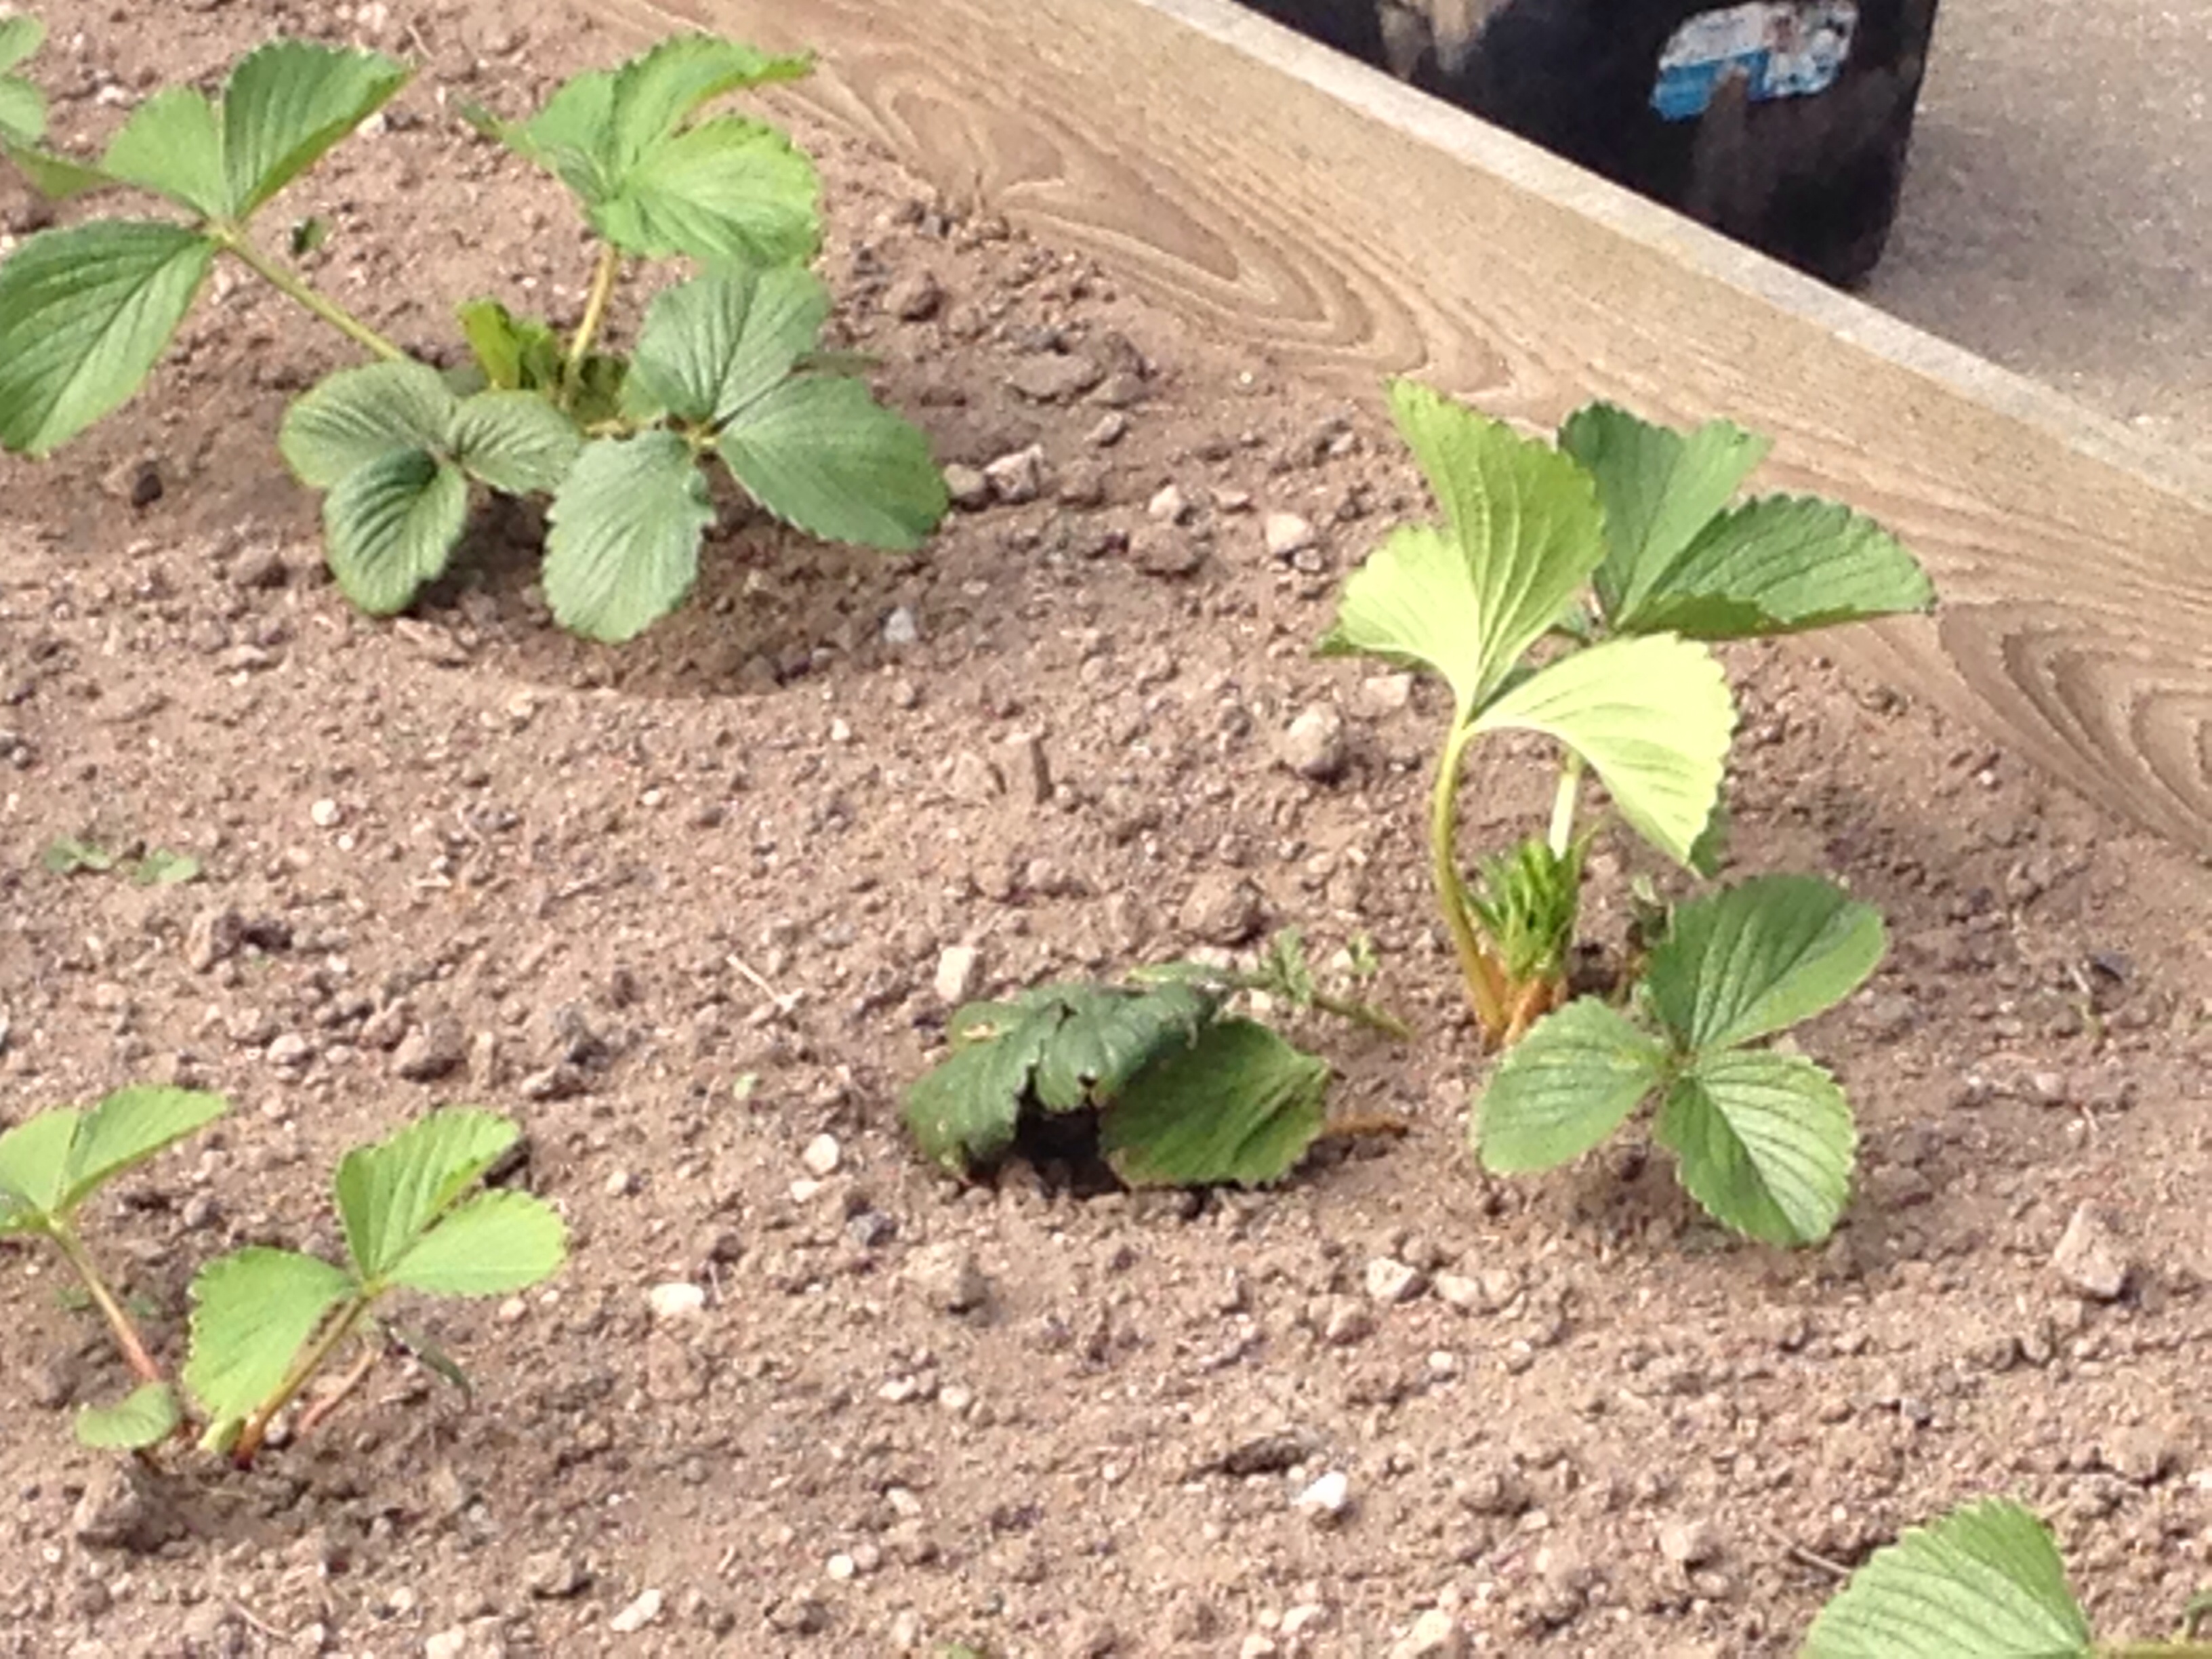
Here’s how we’re shaping up so far this year. Peas are in, as are strawberries, rhubarb, some potatoes, cabbage, lettuce, onions and leeks.
I can’t persuade him to put in blackberries or raspberries and since I don’t plan tending the plot myself this year, I think I’ll have to do without.
Potatoes, neeps and carrots still have to be finished, and we have lots of different herbs this year.
I think there are even some melons on the go, as well as cucumbers and marrows, but we’ll just have to see if he manages to grow those.
I just hope we don’t get too much nicked this year. That really winds me up when people just come to take the harvest when they don’t bother to do any work for themselves. It’s also seems to be one of the biggest reasons that people give up their allotments.
They trash things they can’t take in the process of stealing the crops, so we tend to harvest early and have smaller fruit and veg than they would be if they were fully grown.


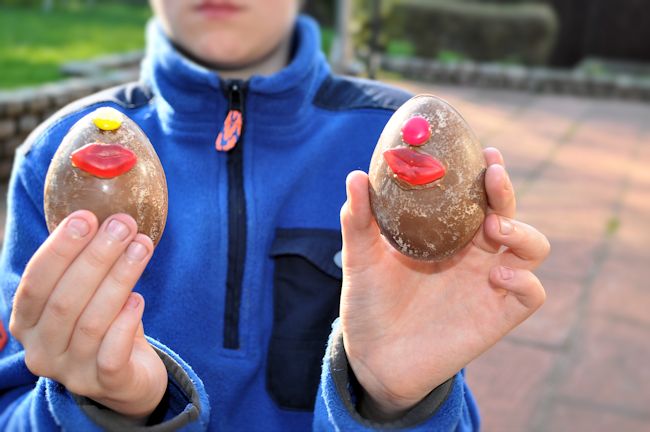
A wee while ago, the people from Stay In Devon sent us a wee kit for making your own easter eggs to try. Middler, who has special needs decided he’d be the one making them with a little help from his brother.
As much as I tried to persuade him to use the fried eggs as eyes, he wanted to do it his way, so ours have a fried egg inside, and he ate the other two. He put the lips and nose on to please him and he’s delighted with the result. We left ours overnight before de-moulding which was perhaps the wrong thing to do as the chocolate speckled, but he’s happy with them 🙂

How did we do it? Here’s how. We used a chocolate easter egg kit. You can buy moulds to make them from any good mould seller.

He found it quite difficult to wait in-between layers so if I did this again, I’d let him do one and head off to school, then I’d do a couple more before he got home. I had to heat up an oven tray and put some greaseproof on top of it to melt the edges so that they could be stuck together, but it all worked out fine.


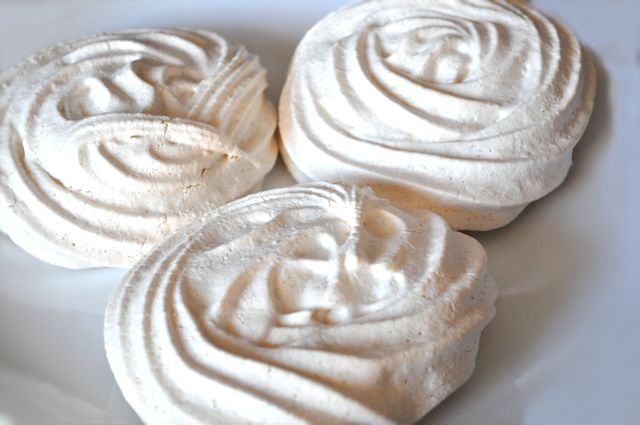
Being able to make meringue nests is one of the jobs I wish I had learned years ago.

Now that I know how to do it, making all sorts of meringues is now quite easy. For this recipe you can use a piping bag, or if you don’t have one, just pop your meringue mix onto your making paper and use the back of a spoon to form peaks.
This will take around 30 – 45 minutes to dry in the over if the nests are small, but one large pavlova size meringue will take up to an hour and a half to dry out in the oven, and then it has to be left to cool.
The vinegar is in all my meringue recipes and will be forever more. It helps to stabilise it, and the chances of it collapsing are greatly reduced, although meringues are by their nature, crumbly and light.

For almost every other pastry, I buy it in the shops as ready make blocks and sheets, but for the shortcrust pastry version, I usually make it as it is just so simple and quick to make.

It can also be frozen once it’s made for another day, so for example, if you were going to make 4 x 4″ flan case base size portions, I would use half this quantity.
What I often do is make the full batch and freeze half of the dough for another day. This batch size will make up to 8 x 4″ flan case size bases.


Quick, creamy, and packed with zing this is my kind of lunch Thanks for the easy, nourishing recipe, Scottish Mum.
I just googled this saying and this thread came up I'm neither Scottish or a mum, I'm a Geordie and…
As an 88 year old American, after reading the article(s) and all of the comments, I say "nothing is now…