Posted on 5 Comments

Guest Recipe: Sloppy Joes Burger by Claire T

This Guest Recipe from Claire, aka ninjakillercat.blogspot.com/ and @needaphone on Twitter sounds amazing.

Sadly Claire didn’t manage to take a photograph, so that means that I will just have to go and make it so that I can get one.  I’m sure my boys will love giving it a try.

———————————-
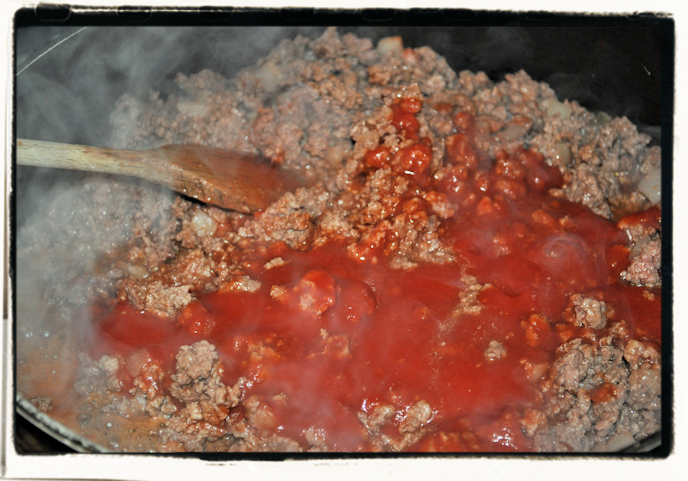
The trick to this recipe is to brown the meat well, on high heat. Don’t crowd the pan , work in batches and don’t stir the meat until it is well browned on one side. It helps to use a large cast iron pan, or an anodised pan, as these pans can handle the heat and are relatively stick-free.

Ingredients

  • 1Tbsp olive oil
  • 1/2 cup minced carrots or sweet pepper
  • 1 cup chopped onion ( about 1 medium onion)
  • 1/2 cup chopped celery
  • 2 gloves garlic,minced
  • Salt
  • 1 1/4lb ground beef
  • 1/2 cup tomato sauce ( or 1 15 once can whole tomatoes, pureed)
  • 1 Tbsp Worcestershire sauce
  • 1 tbsp red wine vinegar
  • 2 Tbsp brown sugar
  • Pinch ground cloves
  • 1/2 teaspoon dried thyme
  • Pinch cayenne pepper
  • 2 turns of freshly ground pepper
  • 4 hamburger buns

Method

  •  Heat love oil in a large saute pan on medium high heat. Add the carrots and saute for 5 minutes. ( If you are using peppers instead of carrots, add those at the same time as the onions).
  • Add the chopped onion and celery.
  • Cook. stirring occasionally until onions are translucent, about 5 more minutes.
  • Add the minced garlic and cook for 30 more seconds. remove from heat. remove vegetables from the pan to a medium-sized bowl, set aside.
  • Using the same pan ( or you can cook the meat at the same time as the vegetables in a separate pan to save time), generously salt the bottom of the pan ( about 1/4 to 1/2 teaspoon).
  • Heat the pan on high. Crumble the ground beef into the pan. You likely need to do this in two batches, otherwise you will crowd the pan and the beef won’t easily brown. Do not stir the ground beef, just let it cook until it is well browned on one side. Then flip the pieces over and brown the second side.
  • Use a slotted spoon to remove the ground beef from the pan ( can add to the set- aside vegetables), salt the pan again and repeat with the rest of the ground beef.
  • If you are using extra lean beef you will likely not have any excess fat in the pan, if you are using 16% or higher, you may have excess fat. Strain of all but 1 tablespoon of the fat.
  • Return the cooked ground beef and vegetables to the pan.
  • Add the ketchup, tomato sauce, Worcestershire sauce, vinegar and brown sugar to the pan. Stir to mix well.
  • Add ground cloves. thyme, and cayenne pepper. Lower the heat to medium low and let simmer for 10 minutes.
  • Adjust seasoning to taste.
Posted on 10 Comments

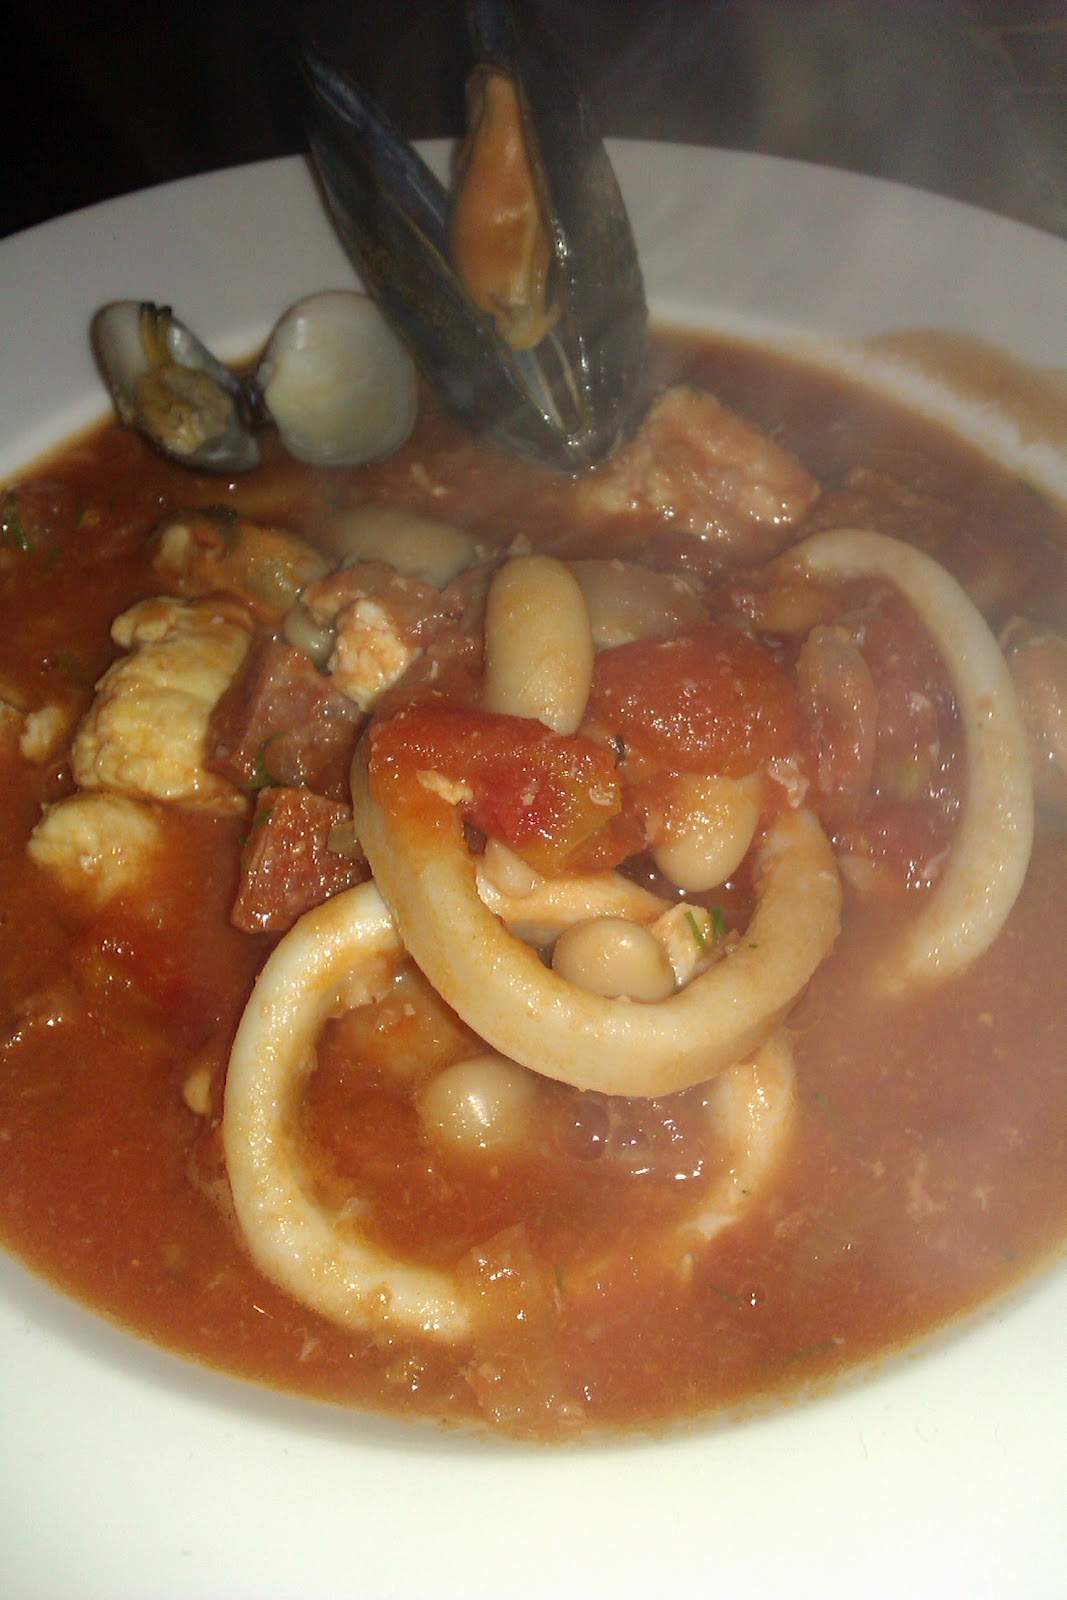
Guest Recipe: Seafood Broth from Graeme Taylor

Guest Recipe from Graeme Taylor of Scots Larder, and also found on Twitter as @scotslarder

———————————————

I love seafood, you can’t beat it for freshness, flavour and for sheer enjoyment of experimentation and it goes so well with so many ingredients, it complements chorizo, and the fresh herbs and white wine make it zing. It’s also great to watch everyone get messy as they wrestle with heads, tails, claws and shells!

I threw this soup together with what I found available in the fishmonger and supermarket but really it’s all about experimenting with what’s available and in season.

I made my own stock using the bones from the gurnard with stock vegetables but you could use a cube if heads and bones offend you or even a shop bought pot of stock, many fishmongers do excellent ones. I just don’t like to see flavour going in the bin so made my own.

This will serve 4

Ingredients

1 Gurnard filleted and chopped into bitesize chunks
100g clams
100g squid chopped into rings
Dozen mussels
150g king prawns
1 tin chopped tomatoes
1 tin cannellini beans
50g chorizo piccante finely chopped
2 shallots finely chopped
Splash white wine (just a splash, not a sploosh, there’s a big difference!)
Tiny splash sherry vinegar (maybe 1tsp)
Dessertspoon finely chopped dill
2 small ladels fish stock

Method

  1. In a medium pot sweat the chorizo in a little olive oil until it begins to give up it’s colour then add the shallots and cook slowly until soft.
  2. Add the gurnard and coat in the orangey oil to brown a little and then add the tomatoes.
  3. Add the sherry vinegar and beans and bring to a slow simmer.
  4. Meanwhile clean and de-beard the mussels and clams making sure you discard any dead ones. The end of this recipe is all about timing, nobody wants cold or overcooked seafood.
  5. When you’re happy with the flavour and consistency of the soup, probably around 15 minutes, put a little olive oil in the bottom of a hot pan and then add the mussels, clams and white wine, cover and set timer for 4 minutes.
  6. Add the prawns to the soup and give the shellfish pot a shake but don’t take off the lid or the cooking steam will all be lost.
  7. When the buzzer goes drain the shellfish pot into the soup to get all the flavour the clams and mussels have given up along with the white wine.
  8. At this point put the squid into the soup as any more than two minutes will render it elastic band like!
  9. Take the mussels and clams from their shells except a couple for decoration (not essential unless you’d like to impress somebody!) and add to the soup.
  10. Take off the heat, stir through the dill, correct for seasoning and serve in warmed bowls with a huge chunk of Guinness soda bread.
Posted on 10 Comments

Guest Recipe : The Best Carrot Cake in the World from Lindsey Cave

A lovely Guest Recipe from Lindsey, who you can find on Twitter as @MrsVanderCave, with her blog at backofbeyondbaking.blogspot.com.  That topping is perfection by the look of it.

——————————–

carrotcake

This recipe is actually for a carrot cake but it makes a big cake which can sometimes be a bit OTT, particularly if you like to watch your weight! So I came up with the idea of making individual cakes using half the recipe. This recipe has been named as the best carrot cake in the world ever after I used it in the school cookery book that I collated for my son’s school PTA fundraiser

The recipe below is gluten-free and for a full-sized cake but it is easily transformed back into a regular recipe by swapping the gluten-free flour for ordinary plain flour and excluding the Xantham gum. For 8 muffins just half the recipe and bake for around 18minutes.

The best Carrot cake in the world ever!

Pre heat the oven to 180c. Grease and line two 20cm cake tins. I use my cake tin liners from Lakeland.

Ingredients

250ml corn oil
175g caster sugar
3 eggs
175g gluten-free plain flour (I use Doves gluten-free flour mix)
2tsp Xantham gum (Doves Farm make this, you can get it in Tesco and Sainsburys)
1.5 tsp gluten free baking powder (check the label on your baking powder)
1.5tsp bicarbonate of soda
3/5tsp salt
1.5tsp ground cinnamon
a pinch of freshly grated nutmeg
1/4 tsp ground ginger
115g chopped walnuts
225g carrots finely grated
5tsp vanilla extract
2 tbsp soured cream
For the frosting
175g full fat cream cheese chilled
25g unsalted butter at room temperature
225g icing sugar sifted

Method

  • Place the corn oil and sugar in a bowl and beat well with an electric mixer until thickened.
  • Add the eggs one at a time and beat well after each addition. The mixture should now be pale and fluffy.
  • Sift the flour, Xantham gum, baking powder, bicarbonate of soda, cinnamon, nutmeg, ginger and salt into the egg mixture and beat well.
  • Fold in the carrots, walnuts, vanilla extract, and soured cream.
  • Divide the mixture between the tins and bake in the oven for 1hr 5minutes or until a skewer inserted into the centre of the tin comes out clean.
  • Once cooked, turn cakes out of the tins onto a wire rack to cool.
  • For the frosting place all the ingredients in a bowl and whip until light and fluffy.
  • Sandwich the two cakes together with a little of the frosting then cover the whole cake with the remains of the frosting. Swirl the frosting as you go to give the classic carrot cake look.


Posted on 9 Comments

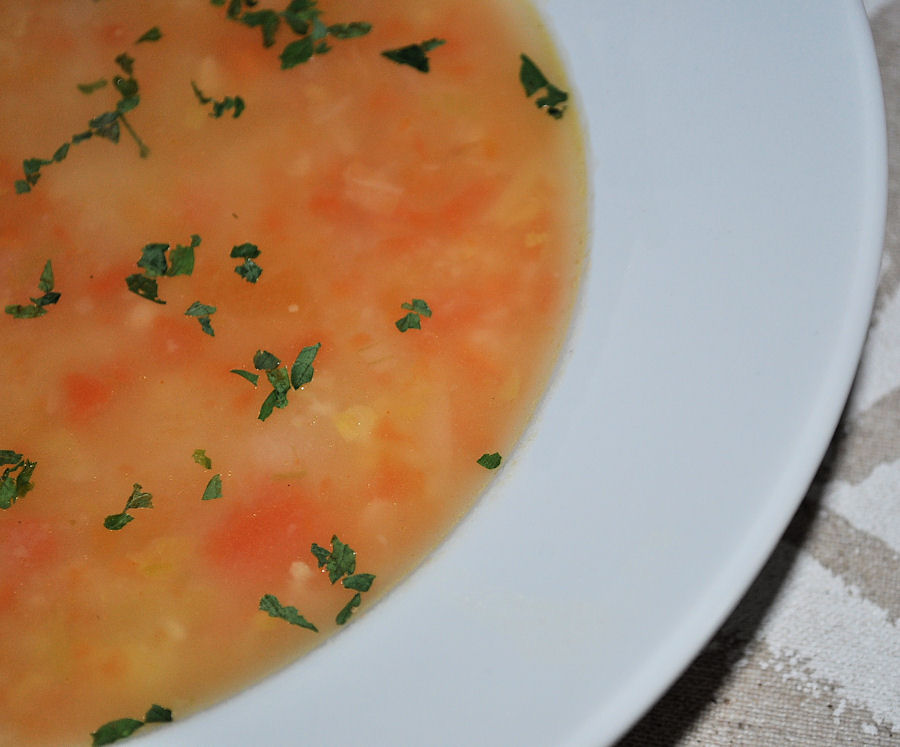
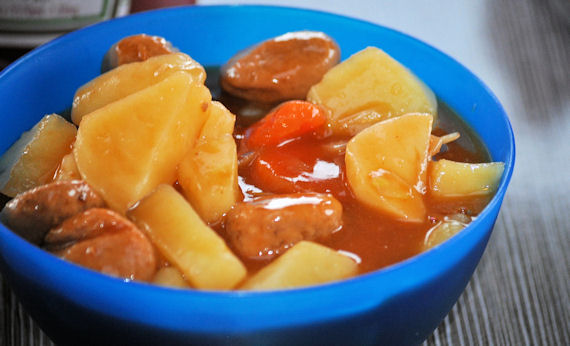
More delicious foodiness. Turkey and Potato Soup made with Scotty Brand Potatoes

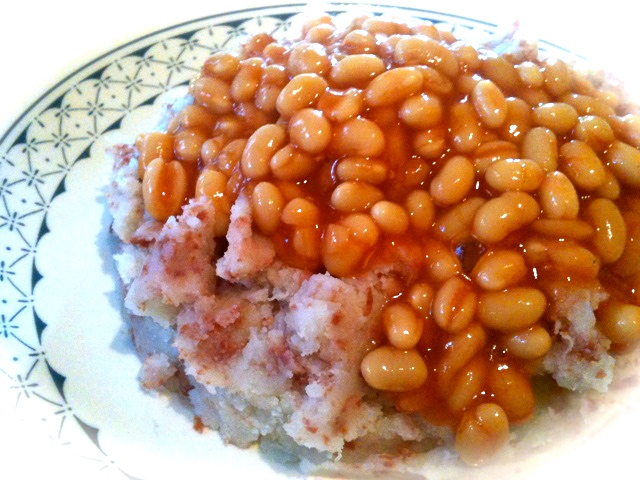
Making potato soup is a big Scottish thing I think.  It’s often so cold here that soups are ideal for little snacks and to warm us up when we’re cold.


One of Scottish Mum and no measuring recipes again, and I just judge how much goes in by the size of my pot.  I used a big pot for this, so I used a whole 2kg bag of gorgeous Scotty Brand Kestrel potatoes which I was sent to make meals with.

This served 6 people about 3 times, so if you have a smaller family, make half the recipe, or freeze for future meals.

Ingredients

  • 2 kg potatoes diced
  • 0.5 kg carrots chopped
  • half a small turnip – chopped
  • two small or one big onion
  • turkey leg
  • salt
  • pepper
  • stock cube x 3

Method

  1. Make stock from the Turkey leg.  I used it straight in the pot, and let it simmer for two hours with the stock cubes and enough water to cover the Turkey leg completely.
  2. Remove the Turkey leg.
  3. Make sure there are no Turkey bits in your stock by straining the liquid.
  4. Add potatoes, carrot and turnip and onions.
  5. Add water to cover.  I just fill with water from the kettle till all vegetables are covered by a good couple of inches, often  more.
  6. Simmer for 40 minutes, or until vegetables are cooked.
  7. Salt and pepper to taste.
  8. Serve with warm bread.

The one thing no foodie will say is that the soup should be spoiled by the addition of anything else, but one of my boys won’t eat home made soup unless it is a tin of Heinz Tomato Soup.  We compromised and he has his own little pot which is mixed with Heinz.  He still gets the goodness of the Turkey and Potato Soup so I’m  happy not to fight this battle.

Posted on Leave a comment

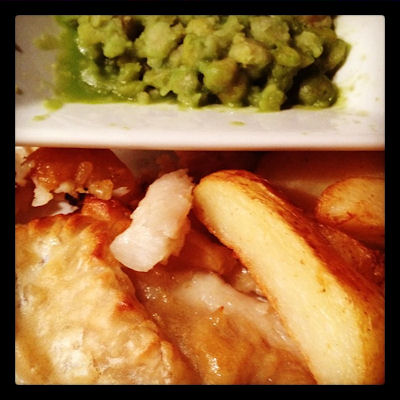
Guest Recipe: Vodka and Tonic Battered Fish & Wedges

Todays Guest Post is from theperfectbadmummy.wordpress.com, who is @mrsaimeehorton on Twitter.  Her recipe for vodka and tonic battered fish & wedges is not something I would have ever thought to try, but it sounds very tempting to give a go.

——————–

Food for 2

I get a little bit excited when I learn a new kitchen “skill”. Probably more then is normal. Then, I love to make it a bit different, especially if it involves alcohol.

For the Fish:

2 chunky white fish fillets

4oz/110g Self Raising Flour

175ml of Tonic

Double shot of Vodka

Salt & Pepper

Extra Flour for dusting

1 pint of Vegetable Oil

For the Wedges

4 or 5 large potatoes – peeled and cut into wedge shapes

Cajun Spice

Method:

1. Pre-heat the oven to 200C – pour the oil into a roasting dish and pop in the oven to heat

2. Sprinkle Cajun spice over the potatoes and put them into the hot oil and allow them to fry gently for about 10 minutes, until they are soft but still pale.

3. Lift out of the pan and leave to cool slightly on greaseproof paper.

4. Mix the Flour, Vodka, Tonic, Salt & Pepper in a bowl until it becomes a thick batter

5. Dip the cod in the batter until it is thickly coated

6. Place in the oil and cook for a few minutes until the batter is crispy and golden

7. Leave to drain on greaseproof paper

8. Add the potatoes back in the oil to finish off and crisp up

9. Serve with Mushy Peas or Salad and a vodka and tonic with a slice of lime.

YUM.

Posted on 9 Comments

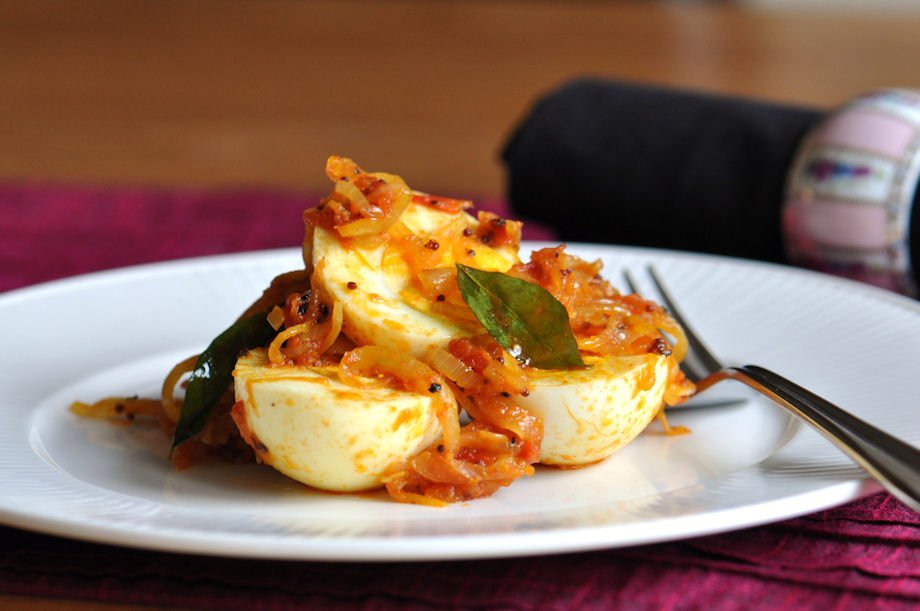
Guest Recipe: Mutta Roast (Egg Roast) by Sheba Promod from Absolute Indian, Cooker School and Spice Boutique

The recipe attached is provided by Sheba Promod of the Absolute Indian, Cooker School and Spice Boutique.   The website has a lovely little shop for Indian spices and I was quite surprised to learn that Turmeric is actually known for it’s antiseptic properties.

——————————————————————–

Egg Roast (Mutta Roast)

Ingredients

(serves 2-3)

 3 hard-boiled eggs, halved

3-4 tbsp. vegetable oil

½ tsp. mustard seeds

2 medium onions, finely chopped

8-10 curry leaves

1 tsp. fresh ginger, finely chopped

2 cloves garlic, crushed

75 grams chopped tomatoes

¼ tsp. turmeric

½ tsp. chilli powder

½ tsp. coarsely ground black pepper

½ tsp. salt

¼ tsp. garam masala

This dish is normally served as a breakfast dish in Kerala alongside Appam (similar to a thick pancake and made from ground rice and coconut) However, it can also be served as an accompaniment to other Kerala curries. I must admit though, I find it truly heavenly just on its own or perhaps with some bread to help mop up the extra onions. It happens to be one of those meals that I craved when pregnant but wished my mum had been around to make then for me! She made them slightly differently, with luscious mounds of the onion masala served on top of the clean, cut eggs and then warmed through in the oven. Just as delicious!

 What makes the dish so mouth-watering is the abundance of onions. You may be rather alarmed with the quantity of sliced onions you have prepped for just 3 eggs but believe me, the sweetness of the slow cooked onions and the sharpness of the tomatoes (with of course, a kick of chilli) make this a delectable way to eat those simple little eggs. Perhaps try this as a variation to scrambled eggs one Sunday morning? You’ll want to make them again and again!

Heat the oil in a shallow non-stick pan. When hot, add the mustard seeds and fry for 2- seconds (they should sizzle immediately on contact with the oil). Reduce to a medium/low heat and fry the onions for 5 minutes to soften. (Bear in mind you do not want to brown them) Add the ginger, garlic and curry leaves and fry for a further 3-4 minutes.

Combine the tomatoes, turmeric, chilli and black pepper into the pan and cook for 5-6 minutes until the oil begins to separate from the masala. Season with salt and garam masala and then gently add the eggs. Mix well to warm through the eggs, being careful not to crush them.

Serve with fresh, warm pooris and pickle.

Notes

A simple way to split boiled eggs in half is to use a piece of thread lengthways across he egg – this gives you a clean cut without crumbling any part of the yolk or white.

 This dish can also be served as a starter or canapé. Simply top the warm, halved eggs with small mounds of the onion masala and serve. I promise you, totally mouth-watering. However, no more than 1 egg per person or you may find your guests stuffed before dinner!


Posted on 16 Comments

Making Stock Recipes for Slow Cookers Begins With Experimenting

How we make our stock is the difference between good and ok food from our slow cooker recipes.

It doesn’t matter if we are making soups or casseroles, the basis of good stock makes our meals perfect.  Cooking with a slow cooker is easy, but not satisfied with the results I was cajoled and encouraged by my mother on many occasions for the use of stock cubes in my recipes.  I still do use them for some recipes, for where speed is needed, or I haven’t got time to make or buy stock.

Using stock cubes works out where we are using herbs and spices to flavour meals, as they can often disguise the lack of real stock, but this post is to show you how to make stock that can also be frozen for the future.

Myth

All stock has to be meat based.

Types of Stock

The world is your oyster.  We can make stock out of almost anything ingredient wise.  When we are making slow cooker stock, we can put our ingredients in, and then just forget about them.

Bones, meat, poultry, vegetables and even fruits can be used to make our stocks with.

The key to good stock is to allow it to simmer slowly and absorb the aromas and flavours.   Don’t allow your stock to boil, or it will change colour.

Method

If you want lovely white stock, place bones, vegetables or fruits into slow cooker, add water to cover your ingredients and simply put on the lid and simmer on low for 8 hours.  Leave the stock alone to simmer, no stirring.

If you want brown stock, roast your ingredients first, or add some colouring.

Using Stock in Meals

Skim off the fat when it’s cool.  I put mine into the freezer for half an hour so that the fat rises to the top and is easy to skim off.  You could use a muslin or cheesecloth to strain it if you don’t have a handly sieve, or at a push, wait until the fat hardens into white lumps and just lift it out using a spoon.  You’ll find a way that works for you.

Freezing Stock

  • Remove as much of the fat as you can.
  • We don’t have to reduce the stock to freeze it, but if space is an issue, you might have to.
  • The best way to reduce stock is simply to put it onto the cooker, and let it boil away most of the water, but keep an eye on it to make sure it doesn’t burn.


Posted on 11 Comments

Caravan Cooking with Scotty Brand Kestrel Potatoes – Slow Cooked Meatball Casserole


We received our package of potatoes from Scotty Brand just before we headed up to the top of Scotland with our caravan.  Sending a pack by way of my brother and his wife, I took 3 bags of their lovely potatoes with us.  We had a couple of baked potato meals, that I didn’t manage to get pictures of before my 3 strapping lads tucked into them.

On the days I made slow cooked soup and meatball casserole, I was much quicker off the mark.  For casseroles and soups, I rarely measure out ingredients unless it is to add spices and strong flavours.  At home, my slow cooker is a huge 6.5L pot, and there is always some left over to freeze for another day, but the pot for caravan cooking is 3L and makes just enough to feed the family for one meal.

For slow cooked meatball casserole done where space is limited.

Ingredients

  • 2kg potatoes, peeled and sliced
  • couple of carrots, sliced
  • onion, chopped
  • teaspoon of ginger paste
  • garlic clove
  • few cumin seeds
  • pinch salt
  • pinch pepper
  • meatballs
  • 2 x stock cubes
  • thickener

Method

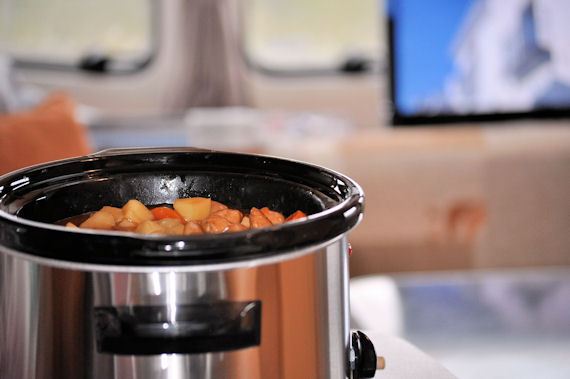
I would usually pan fry the meatballs and onions, but being short of space in the van, I just threw them in the pot with the potatoes, carrots, ginger paste, cumin seeds and clove of garlic.   Sprinkle in the stock cubes with a dash of salt and pepper.

Add enough boiling water to read almost up to the top of your ingredients, turn the slow cooker on, 4 hours on high, or 8 hours on slow.

I had no cornflour with me, so some gravy granules it had to be for a thickener, a little more salt and pepper to taste, and then it was simply served up to hungry children.

Posted on 7 Comments

A cake worth the calories……..the sweetie cake

It’s mums birthday today.  If you didn’t know, you do now.

I tend not to make too big a fuss when it’s my birthday and I actually never tell anyone in real life as I don’t want them to feel as if they “have” to buy me something, which they don’t.   I’ll have popped out this morning to buy myself a top and some cards for the kids to give me later, and then I’ll let them have the surprise.

A sweets cake is something that my boys have often longed to get, but I haven’t got round to making.

I spotted one on a Tweeters timeline last week and that gave me the idea to make one for my own birthday instead of getting the usual hurriedly bought birthday cake for mum that tends to be too sweet, too sickly and nobody can eat it.  I can’t remember who it was who had made something similar (but did look better than mine) and if you know, let me know so I can link up to her.

I know you really only want to know how to make a sweetie cake, don’t you?  I made a rather large cake, but you could make a smaller one.  I use a basic sponge mix, but we can add some variations if we want to.  Sorry, I work in ounces, but it’s easily changed to grammes by working at approx 28g per ounce.

Ingredients

  • 12 oz castor sugar
  • 12 oz butter
  • 2 oz chopped hazelnuts / almonds
  • 6 medium eggs
  • golden syrup or honey
  • food colouring
  • filling
  • icing
  • 12 oz self-raising flour
  • 1 x large bag of jelly babies & jelly beans (substitute for any sweets you like)

Method

I use a mixer, so it does take the hard work out of mixing for a cake, but it also produces a much lighter sponge than I have ever achieved by hand.

Cream the eggs and sugar together.  I microwave the butter to make it really soft so that it creams quickly and fully.

Break the eggs into a bowl.  I rarely do anything with them, but I know some people like to whisk eggs before they add them to a mix.  I don’t.  I just break, check there are no rotten ones, then simply add them in.  Once the mix with eggs added has mixed until it is a smooth paste, I then add my flour and three tablespoons of golden syrup.

Mix for a good three minutes in the mixer to make a uber smooth mix.  After that, I hand stirred in the hazelnuts and a couple of drops of food colouring.  I used red to give a nice pink sponge.

Pour into greased baking tray and bake at 140 degrees.  It takes about an hour to cook in my oven, and you will probably know your own oven well enough to be able to judge the heat to use.

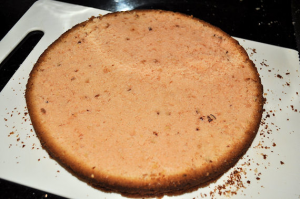
When cooked, turn out on to wire rack to cool and allow you to shape it.  I cut the sponge to get two halves, then I slice the top off the uneven part and take the outside edge off the sponge, to leave the soft inner sponge.  I used to think that cakes which turned out of the oven like this were disasters.  I now know better and that some artwork with a knife can rescue some very unattractive looking sponges.

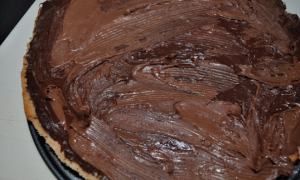
Adding a filling to the bottom part is simple, and for the benefit of the kids, I used a mix of chocolate and toffee icing with Nutella (their favourite).

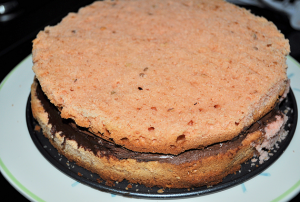
I turn the topped sponge upside down to place on top of the filled bottom section and then cut around the crusts to make sure it looks even.

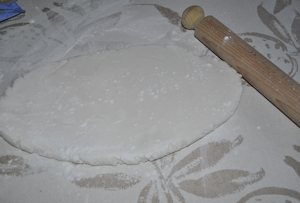
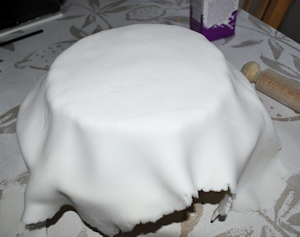
The next step is the easiest.  I cheated and bought pre-made icing which was ready to roll.   Spreading a little icing sugar on my counter, I rolled it out until it was large enough to cover the whole cake.   With a pastry brush, I painted a very thin layer of golden syrup on one side of the icing to help it to stick to the cake.  The syrup does make picking up the icing and putting it over the cake tricky, but if you roll the icing out to bigger than you need, it is doable.

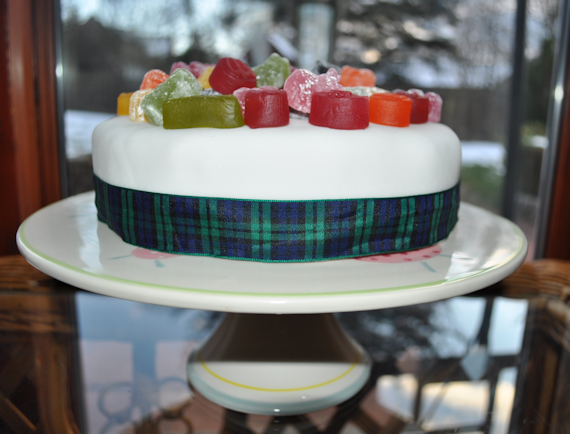
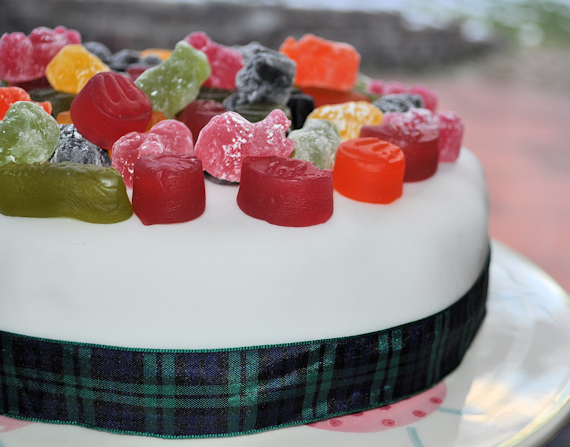
I lifted the cake up and trimmed off the excess icing, wrapped a ribbon around the bottom of the cake and placed the sweeties on the top, aided by a drop of gelatine to make them stick.  Hey presto, the “sweety cake” my youngest asked for.

sweetiecake6


Posted on Leave a comment

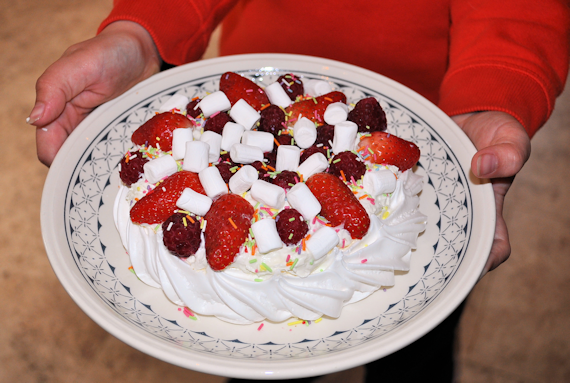
The Cheats Strawberry & Raspberry Pavlova (made in Aberdeen by kids)

Made in Aberdeen by the Scottish Mum kids.

Want a speedy dessert that will make kids fall over themselves with delight at having made?  One they can share with family and friends, or just to eat themselves?

There is nothing difficult about creating such a spectacular tower of indulgency for a sweet dessert to die for, nor does it take any time at all to put together.  Using bits and bobs left lying around the house, it uses up all the fruit and sweetie leftovers.

Ingredients my boys used:

  • mini marshmallows
  • sugar strands
  • a pre-made meringue pavlova case
  • carton of custard (or you could make it yourself)
  • spray Tip Top cream (thoroughly ashamed, but hey, it was speedy)
  • strawberries and raspberries

Pinching a marshmallow is good fun too.

With some custard added to the bottom of the pavlova, spraying on the Tip Top was the next step.

Adding the fruit and veg is the most difficult bit for fingers.

Then simply finish the decoration and eat immediately.  This is not a dessert that can languish in the fridge. If you use fresh cream, you would get away with putting it in the fridge for later.