
Making sure our mothers get a present that is fit for the fabulous job that they all do, is difficult. Often, it is the time spent on making something that is more important than what it is that they have received. How can we give our lovely mums something different?
Making handmade gifts lets your mum know that you think she is special and deserves the time and effort it has taken to make it.
We could:
- Make some homemade cards. Kids often love to make lovely things, so it’s an easy thing to do.
- Buy one of the jars from supermarkets that have the clip on lids and make pot pourri, smelly jelly or simply fill it with her favourite sweeties as it will look much better than the shop bought cardboard versions. After it’s made, you can tie a lovely ribbon around the neck and attack a tag.
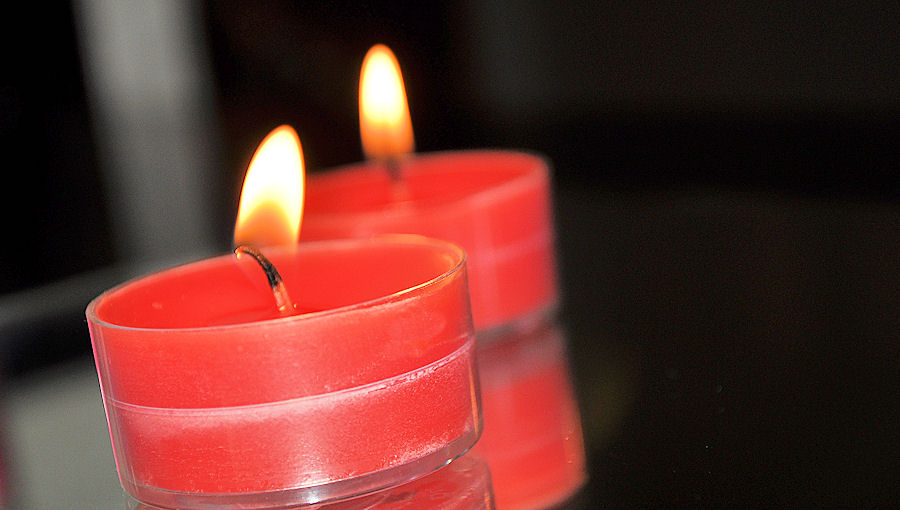
- Make candles..
Wooo hooo, did I mention making candles.. Ok, I’ve said before that I was going to help you all with making some basic candles, so here we go.
The very first things to learn about making candles is how to handle the materials.
Before you start making any candles, please read:
Tools for Candle Making
- Wax melter or double boiler & Pour Pot
- Stainless steel measuring cup if needed
- Stirrer or wooden spoon
- Scales
- Thermometer
- Scissors
- Knife
- A lid off a box, flat baking tray etc.
Don’t be tempted to harden your candles in a fridge. They will cool too quickly, and the candle quality will be compromised.
Work Area
Prepare your work area. Weigh out your wax so that you know how much you are using. Make sure you keep records of amounts and weights for the future. Candle making is all about testing what works for you. Remember candles work differently with everyone in their own heat settings and environment.
What works for one may not work for someone else, ie wicks, temperatures and scents. Keep notes so that you can replicate something wonderful and not copy what didn’t work for you. You may think you might remember which wick, how much scent and which wax gave you a wonderful candle, but in two weeks time, you honestly won’t.
Scent and Colour
The general rule of thumb for all candle making with our chips and fragrances is
- Maximum 1oz scent to 1lb of wax, or the maximum of 10 percent rule.
- With colour chips, use approximately 1chip to 1lb of wax (or less / more depending on what shade you want). Less than 1 chip per lb will give you a lighter colour. More than 1 chip per lb will give you a darker colour.
It is all down to testing your amounts and keeping records so that you know how to reproduce the effect that you want.
Double Boiler Wax Melting Method
This means boiling a pot of water on a heat source. The temperature of the water will never exceed 212 deg. F. The pour pot with the wax inside is then placed inside the boiling water. The pouring pot is never in direct contact with the heat source and the water transmits the heat to the pouring pot quickly and evenly, without scorching the wax and minimizes the chances of a fire. Even with a double boiler, do not leave it unattended.
- Choose an old pot large enough to put your pouring pot into.
- Add an inch or two of water to the old pot.
- Bring to a boil.
- Place your pouring pot directly into this boiling water. You may wish to place a metal biscuit cutter, or something similar in the bottom of your old pot to elevate the pouring pot.
- Lower the heat to a simmer.
- Add water to replace water lost to evaporation. Do not let the double boiler run dry. It can quickly get too hot.
- Allow the wax to melt and monitor the temperature until you reach the temperature needed for the particular type of wax you are working with.
- A thermometer is a necessity when working with wax. The temperatures that you work with can alter the burn properties of your candle.
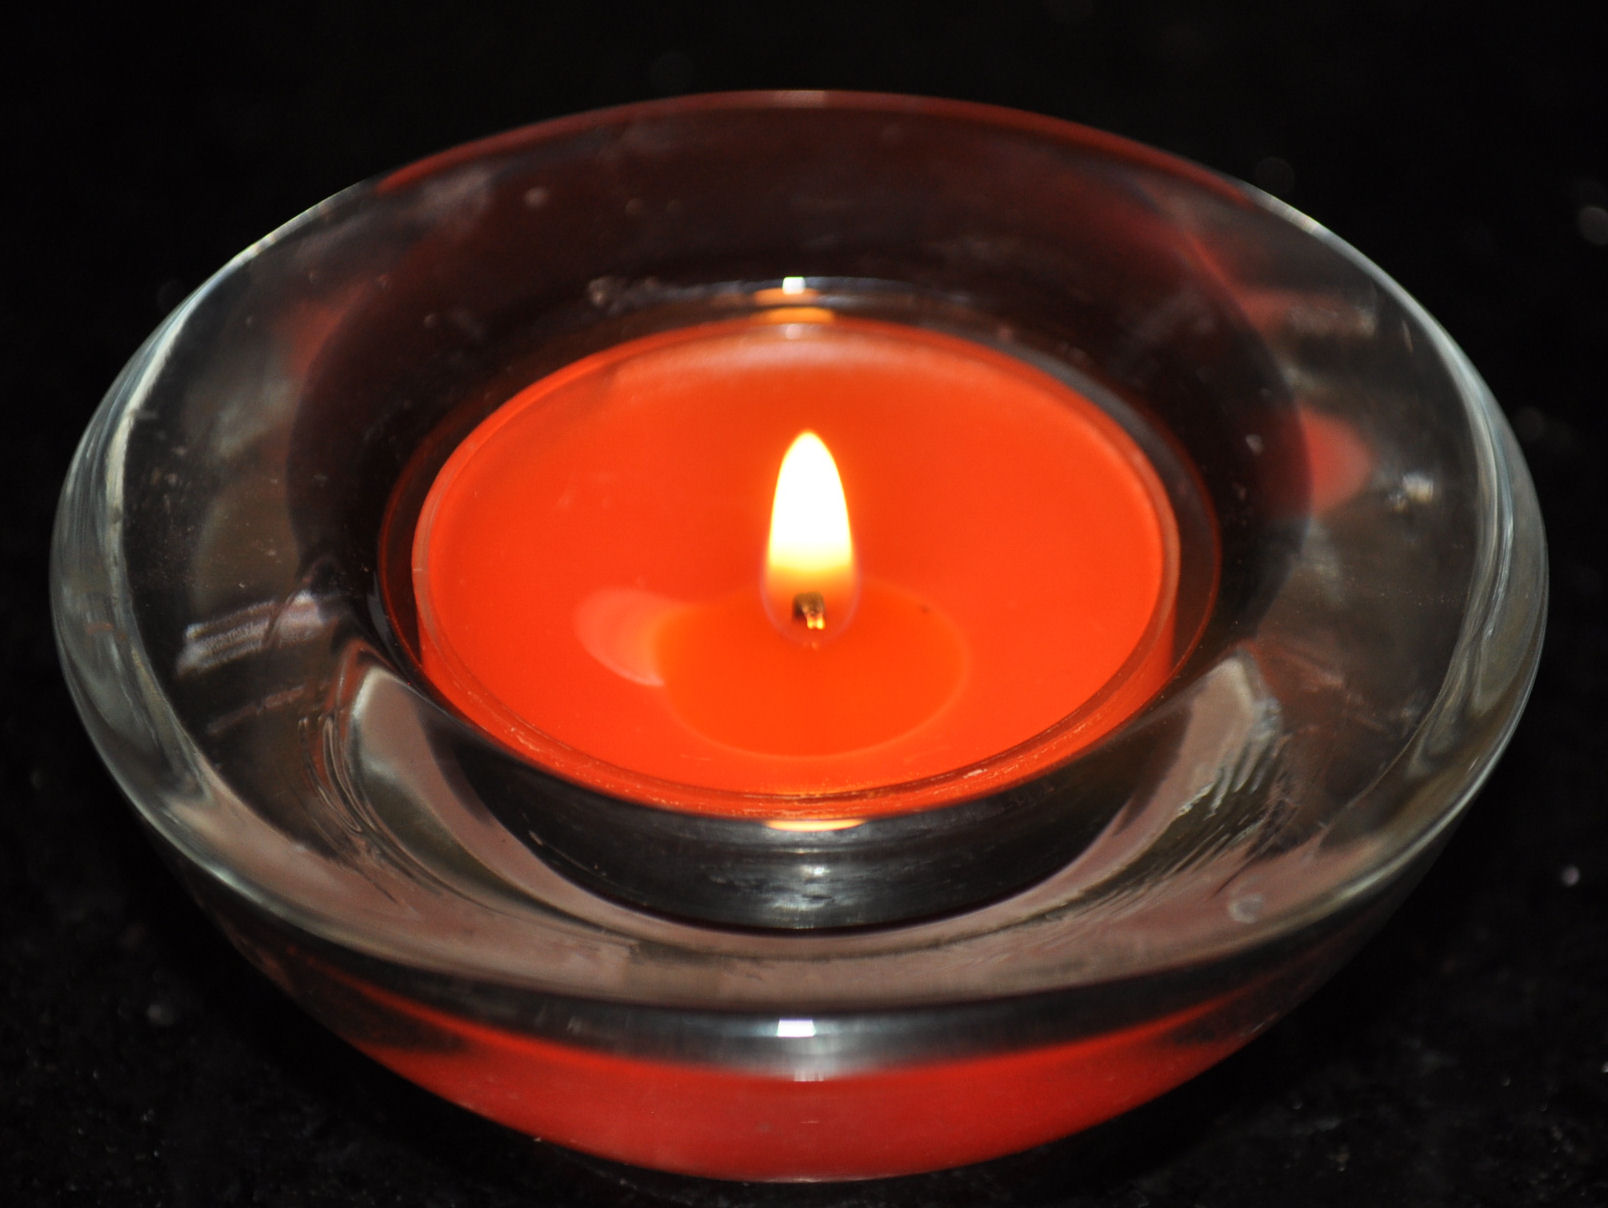
The Nitty Gritty – Making Tealights – Soy Wax
Materials
- Soy wax
- Wick
- Glue spots
- Fragrance Oil (optional)
- Colour (optional)

To find out how much wax you need for each tealight, simply fill a tealight cup up with water and find out how much it holds.
Place your tealight cups on a flat surface, i.e. an old flat baking tray would do nicely and would catch any wax drips if you overpour. Do not use it for cooking afterwards.
Leave a space between each of them, i.e. not touching.
- Put a generous dab of your wax glue, or a glue spot onto the bottom of the sustainers attached to your tealight wicks and then stick your pretabbed wicks into the tealight cups. Some people put their tealight wicks in after they pour the wax, but I find that this can cause overpour. It depends on your particular preference.

- Melt the amount of wax you wish to use and keep a note, as it will affect the amount of scent and colour you use.
- While your wax is melting, weigh out your scent, remembering your maximums and get your colour ready.
- If you use half a lb of wax, use half a chip of colour. For 1lb of wax, use one chip of colour unless you wish to have a darker or lighter colour.
- Weigh out your scent. For half a lb of wax, use a maximum of half an ounce of candle making fragrance oil to start off with. Once you get the scent level you like, note it down and for future reference you will know how to reproduce it. Don’t think you will remember it in future, as you won’t.
- Heat the wax to 165°F.
- Be sure to stir/mix the wax while melting and after adding fragrance and colour. Allow the wax to cool to your desired pour temperature, add the fragrance, colour and mix well.
- Pour into your tealight cups.
- Straighten any wicks that have bent over while pouring. Do this before the skin forms.
- Leave for a few hours to harden.
- Your tealight is now ready for burning, but they would be best left to cure overnight if you have made scented tealights.
- Pop it inside a tealight holder, or wrap it up to make it look pretty.


My old machine said hot or cold water. No way cold water cooks the veggies in my old machine. Actually…
[…] liquid. Using boiling water for stock can speed up cooking, according to user tips published by Scottish Mum (Practical…
Quick, creamy, and packed with zing this is my kind of lunch Thanks for the easy, nourishing recipe, Scottish Mum.